How I created a quirky and cosy shared room for the kids (on a non-existing budget!)
Well, hello there! Remember me?! It’s been a while, I know… The past six months have been a little bit of a blur: I had a baby (Teddy, you can meet him on instagram, he smiles a lot on camera!), went back to work after 12 weeks, started the biggest interior design project of my career, officially teamed up with the most wonderful business partner (more on that later!), and generally stopped having time to breathe. But I am finally finding my groove again so the blog is officially back!
Unsurprisingly, my first blog post is all about kids and how to style a bedroom to accommodate a baby boy and a toddler girl! I am sure I am not the only person with the dilemma of not having enough rooms for all their kids to sleep in so I have put together a summary of how I created a shared room, that’s gender neutral, fun, colourful and didn’t cost the earth.

Teddy’s corner with all his tigers! Photo credit: Aiza Domingo for Baby & Child Magazine

The baby station…! Photo credit: Aiza Domingo for Baby & Child Magazine
The first big decision I had to make was choosing the room. Before the summer and the arrival of baby Teddy, I had an office space/guest room that was small, little natural light with a narrow window, and a dark shade of grey on the walls, and a larger much brighter room (which was Stella’s bedroom) with a very large window and a much lighter shade of grey. (Scroll down to the end of the post for the before pictures!) I decided to swap both rooms around and use the smaller darker room as the kids bedroom and transform Stella’s old bedroom into a light and airy office space. It may sound a bit counterintuitive but with a big play zone in our main living space where Stella spends most of her time, it didn’t make sense to keep the larger room for the kids where they would only essentially sleep. That’s how I sold it to the husband anyway! Also my old home office, despite its smaller size has a layout that’s actually much easier to use to create two separate sleeping zones, one for Stella and one for the baby.
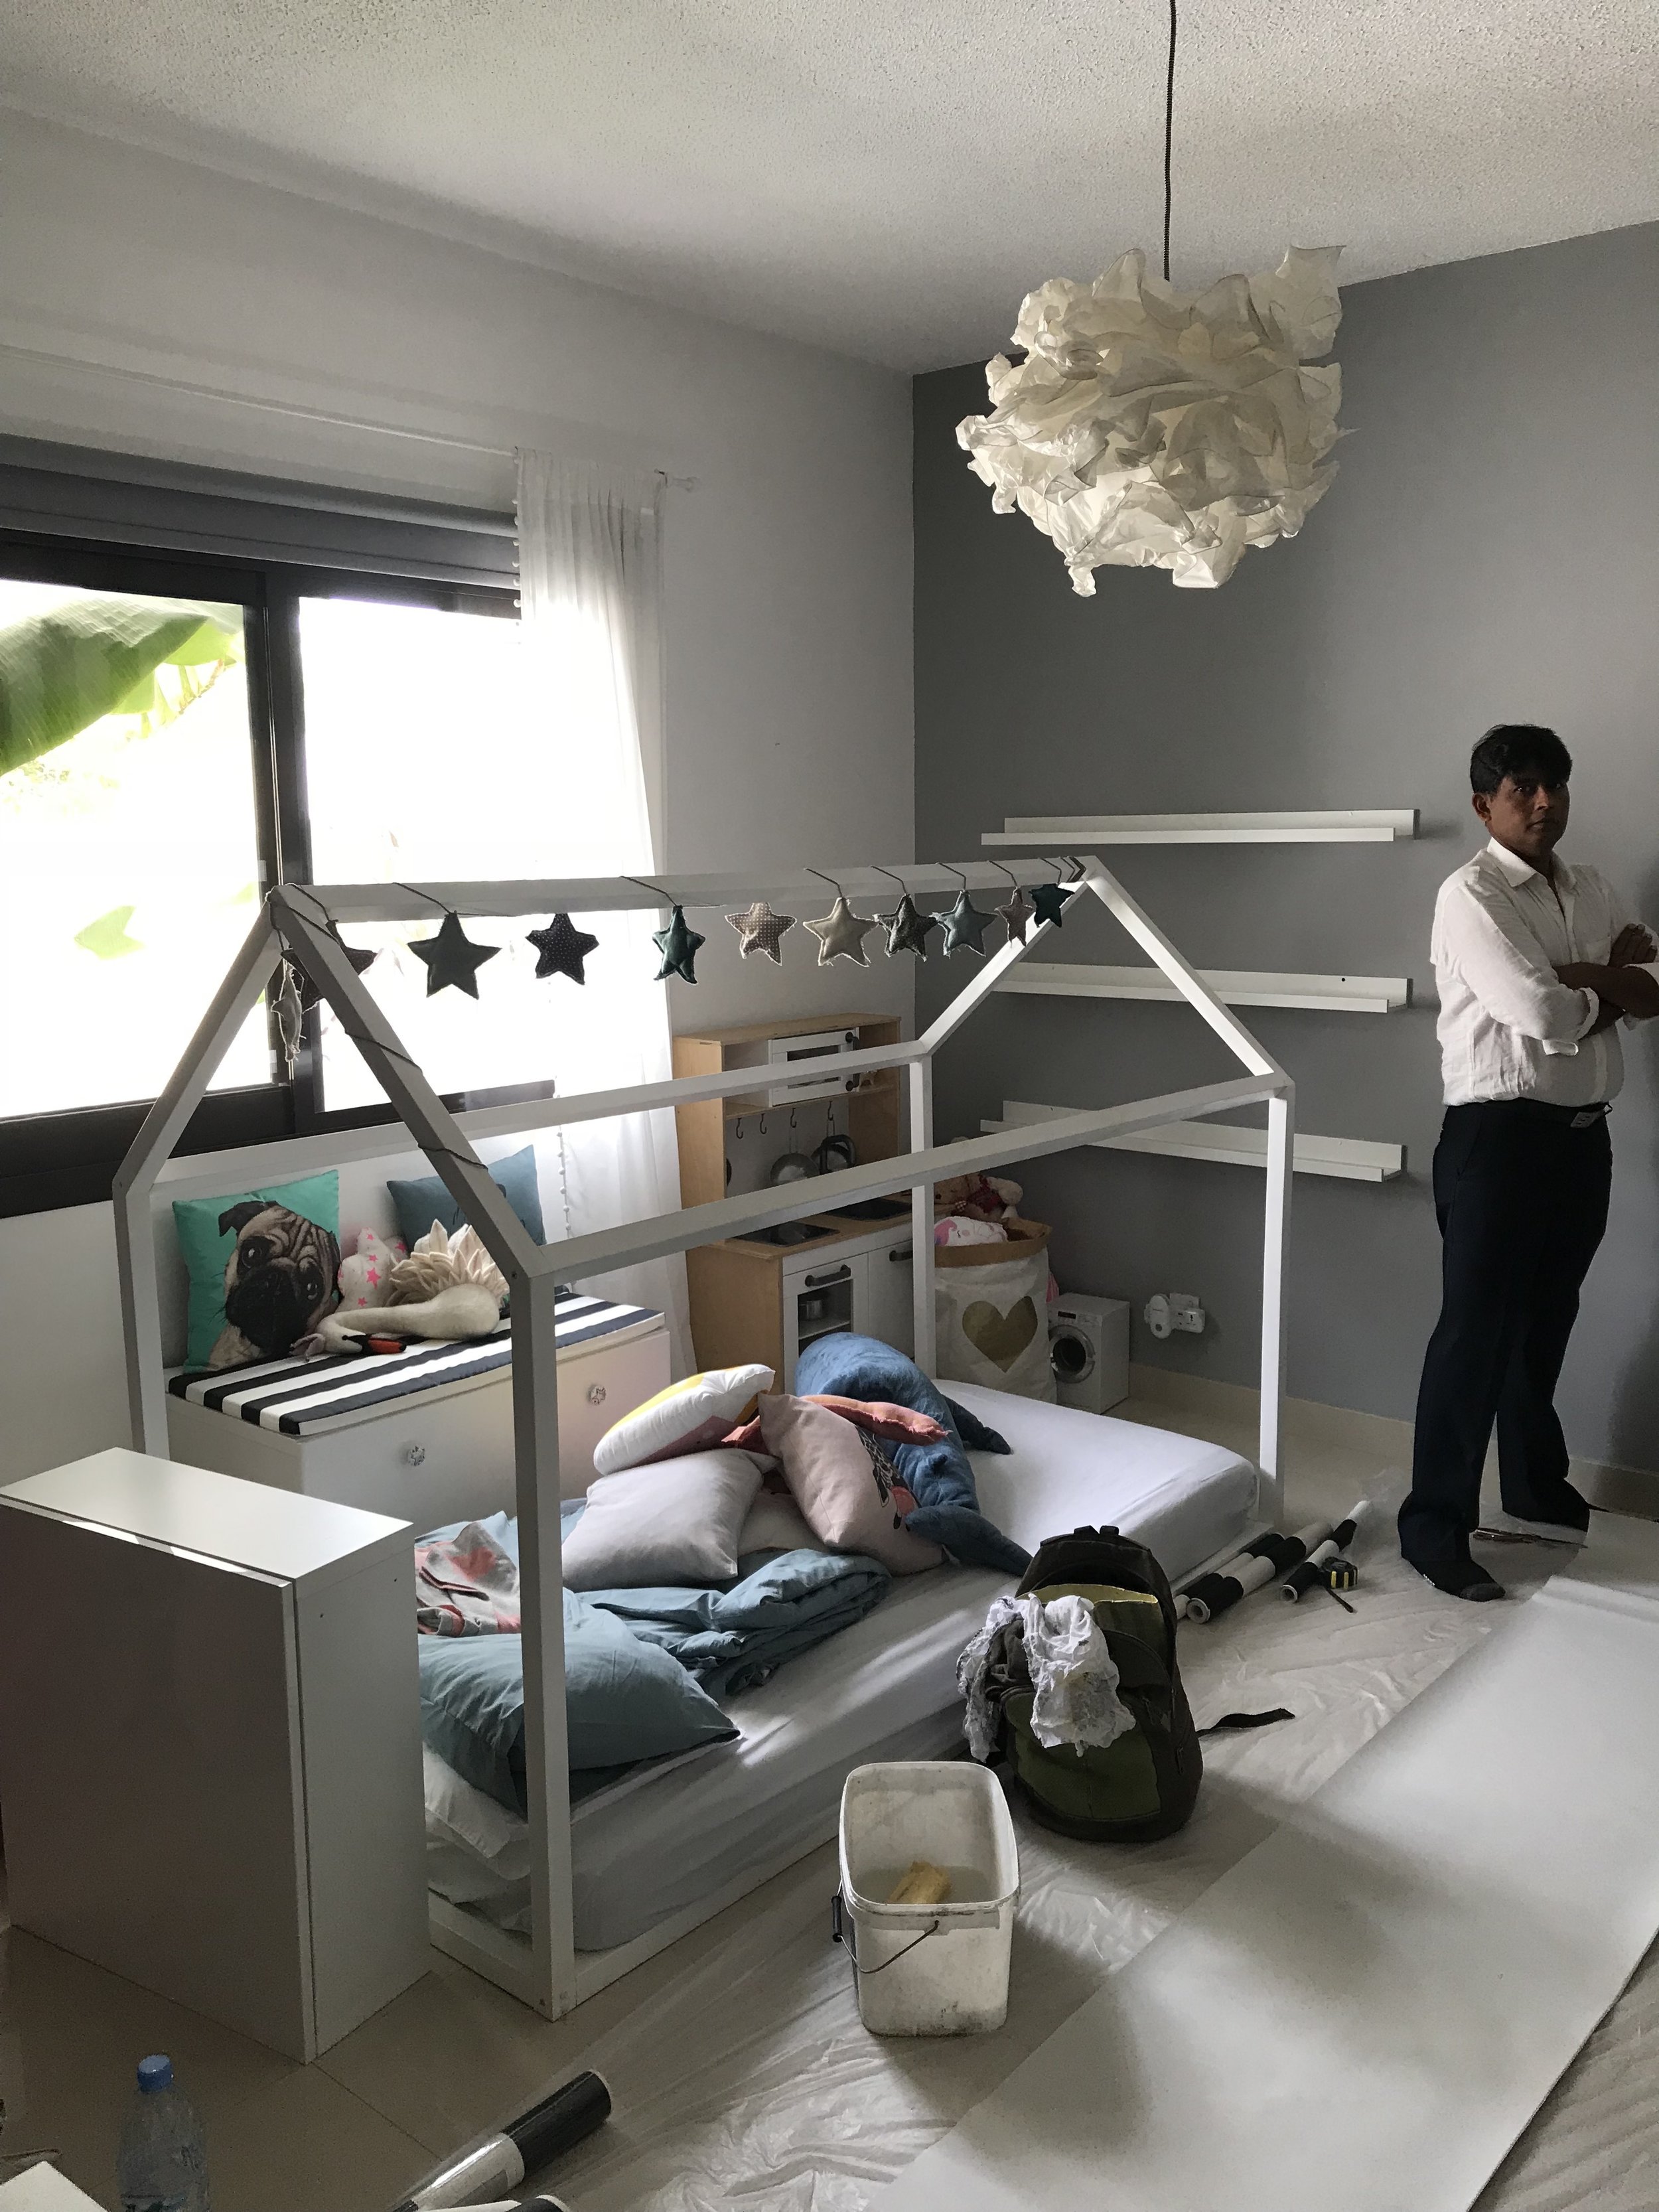
To help me with the transition and room revamps as I was about 8 months pregnant at that stage, I enlisted the clever clogs at mrUsta. If you haven’t heard of them, may I suggest you stop whatever you’re doing and head to their website immediately. It’s such a clever concept; essentially an online market place that connects Dubai-based customers in need of DIY help, with service providers (electricians, handymen, painters you name it!) in an efficient and transparent way. A bit like Uber for taxi drivers, with the added ability to choose from various companies based on their customer reviews. It’s super easy to do, you just list the various jobs you need help with (including your location, description of the jobs, pictures, time and date requested) and wait for up to 5 service providers to quote you for the job. Each company has a profile and reviews from previous customers so you can choose the one you think is best for the job, click “book” and Bob’s your uncle as they say.
The whole thing took a full day and included:
Dismantling Stella’s house bed and reassembling in the new room
Remove all wall fixtures, shelves, and hooks and reinstall them in the new room
Filling existing holes in both rooms and repainted some walls
Assemble baby furniture like the changing table and cot
Install a fun gallery wall of photos of Stella when she was a baby

Quick, easy and budget friendly photo gallery thanks to IKEA frames. Photo credit: Aiza Domingo for Baby & Child Magazine
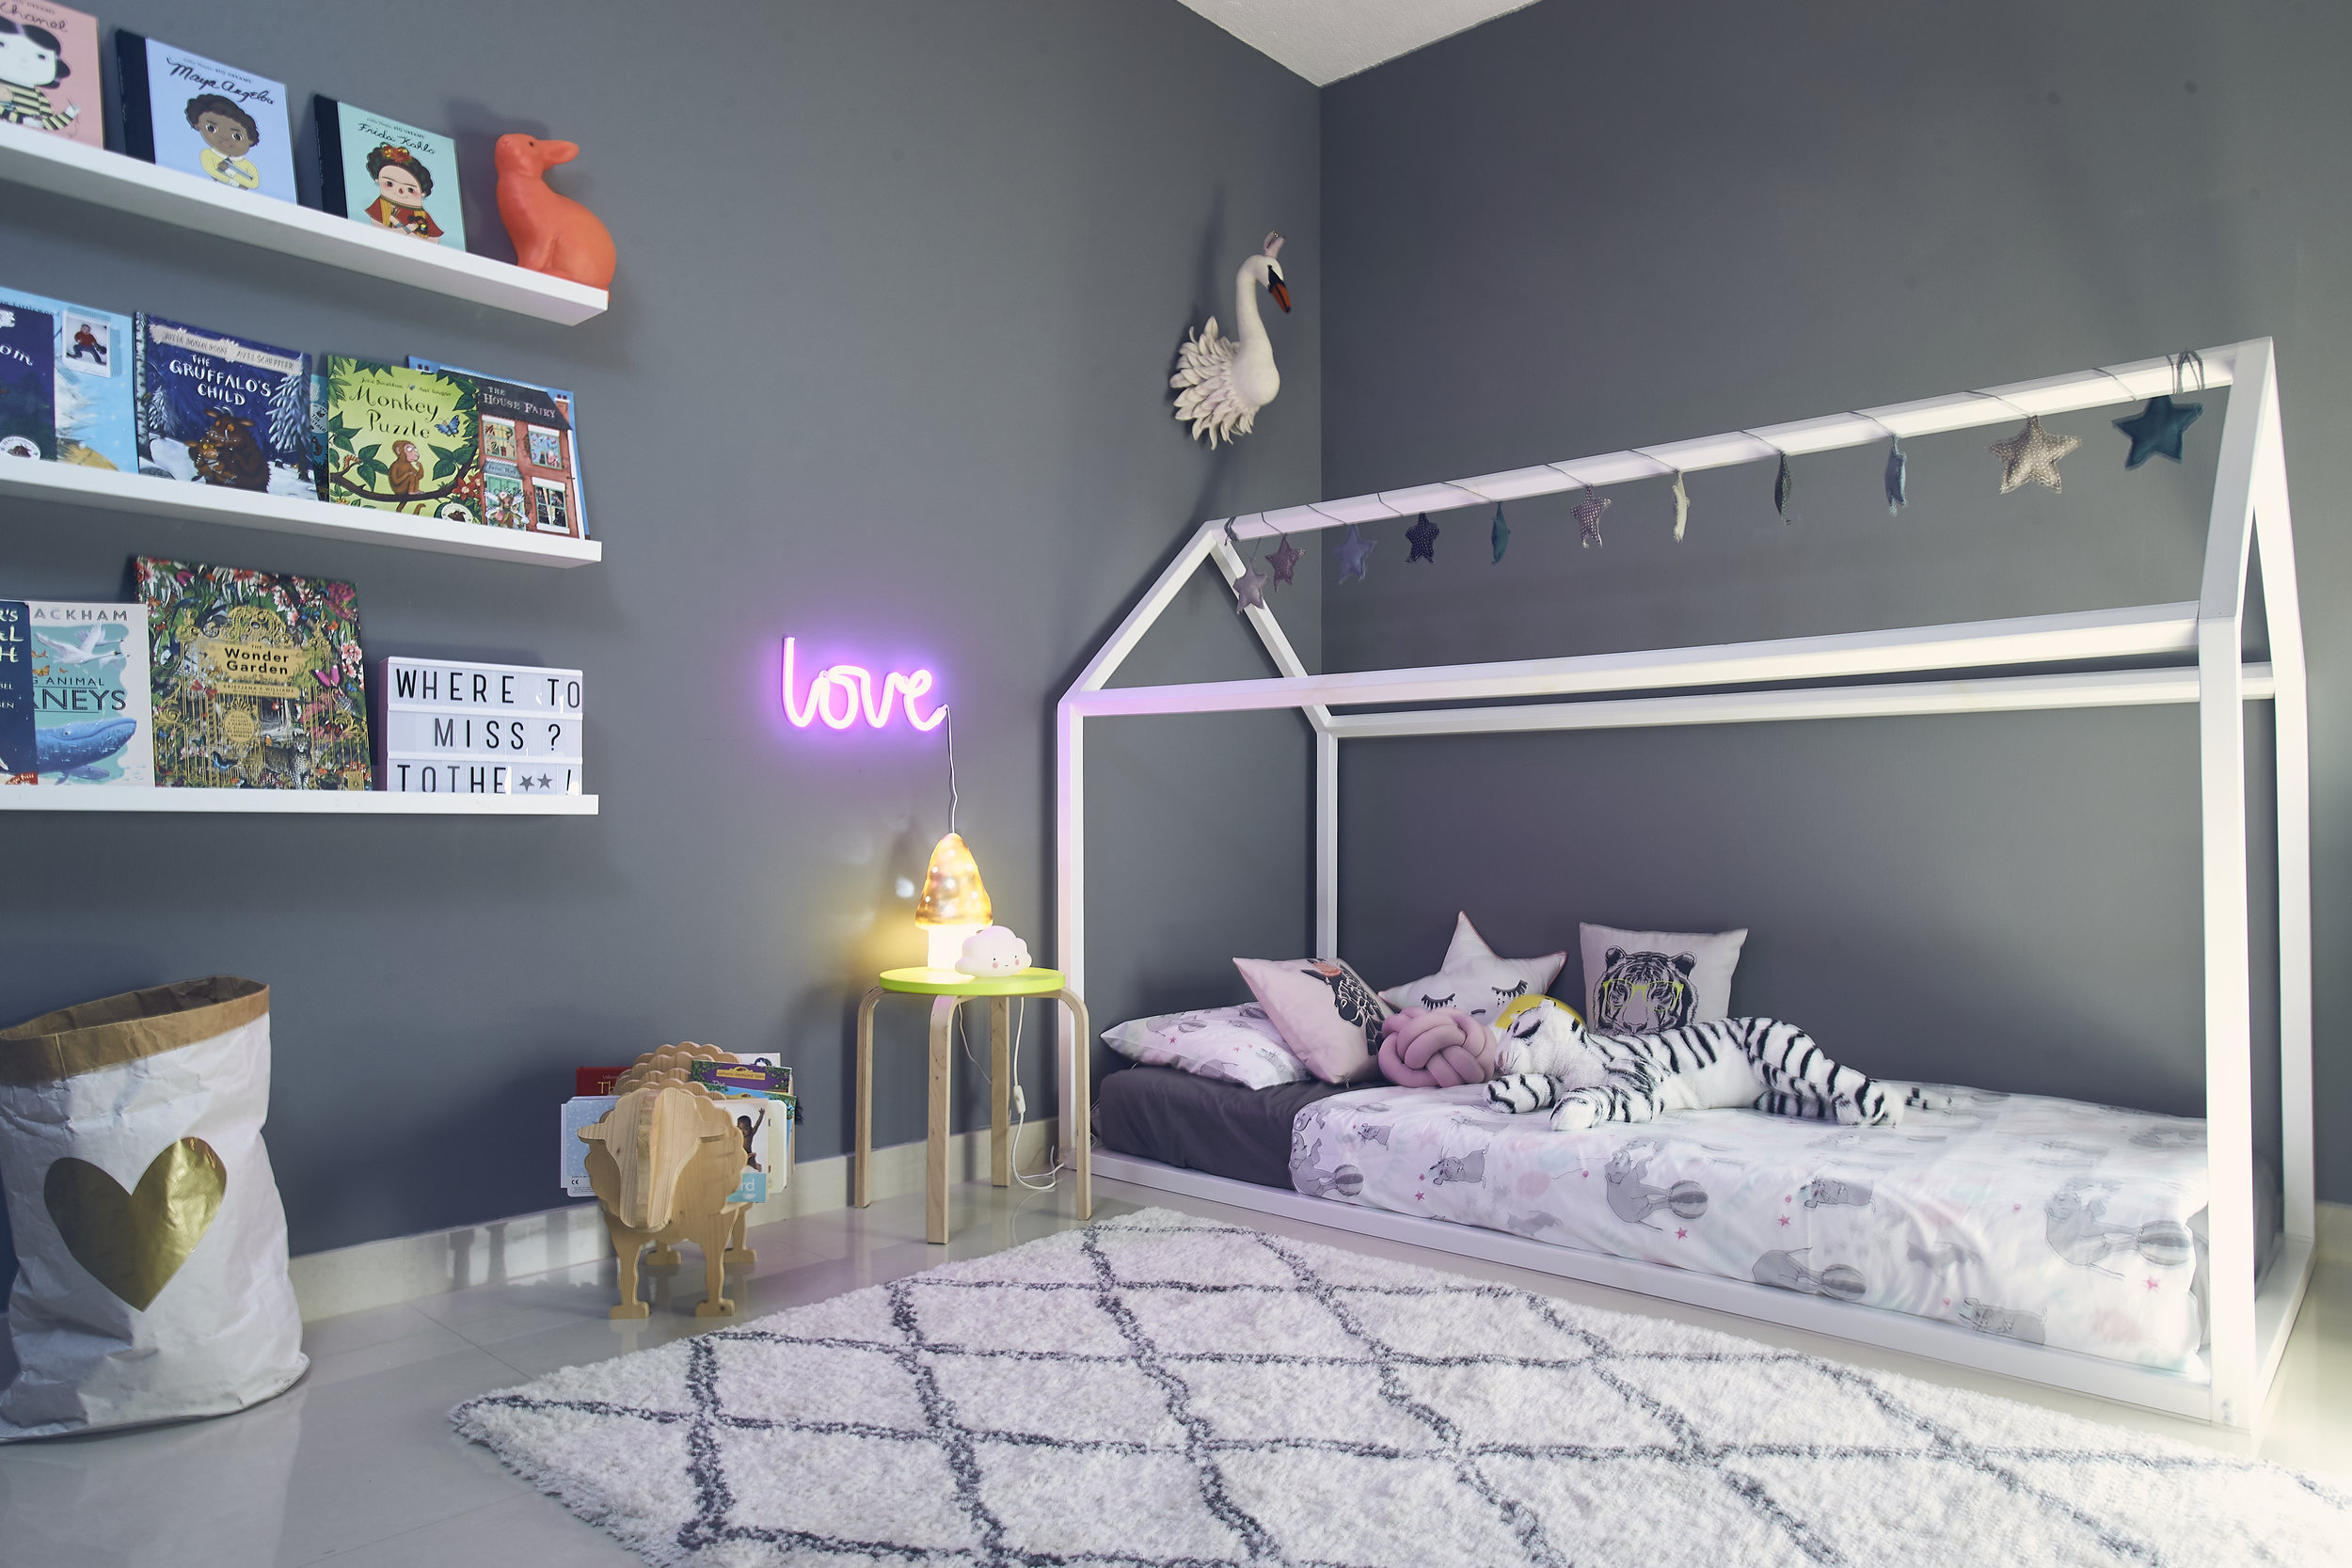
Stella’s ‘side’ of the kids room. Photo credit: Aiza Domingo for Baby & Child Magazine

Stella’s favourite piece: the LOVE neon sign. Photo credit: Aiza Domingo for Baby & Child Magazine
With my limited budget and space I had to be clever with the changes to the kids room so headed to IKEA to get most of the new pieces like the changing table, storage bench and shelves. then I just accessorized it all with pieces from Caramel & Sun and H&M Home.
I reused most of the furniture, soft furnishings and accessories from Stella’s room and created two zones - one a bit more girly for Stella with pops of pink neon, and another more boyish with orange accents for Teddy. On paper it shouldn’t really work, but it totally does!
Once the room was done, Baby & Child magazine kindly featured it in their print magazine and the lovely articles are now available online: How to style a quirky kids room and How to design a baby nursery under AED4000.
Finally here is the shopping list for the room:
JYSK’s best selling rug (its price tag cannot be beaten!)
IKEA’s storage bench with stripy cushion which I customised a bit with new door knobs from Zara Home.
Tiger stool/side table from Kare
Large lightbox from Caramel & Sun
Tiger cushions from H&M Home
Wooden wall hooks from IKEA
Orange baby crib from Bloom (sadly it’s discontinued in orange but they have a fabulous lime green version!)
Stella’s House bed was custom made but you can find similar from Joba
Wall colour is Evening Sky by Jotun.
Changing table from IKEA
Fancy seeing the before? Here are some shots of the rooms before we swapped everything around!

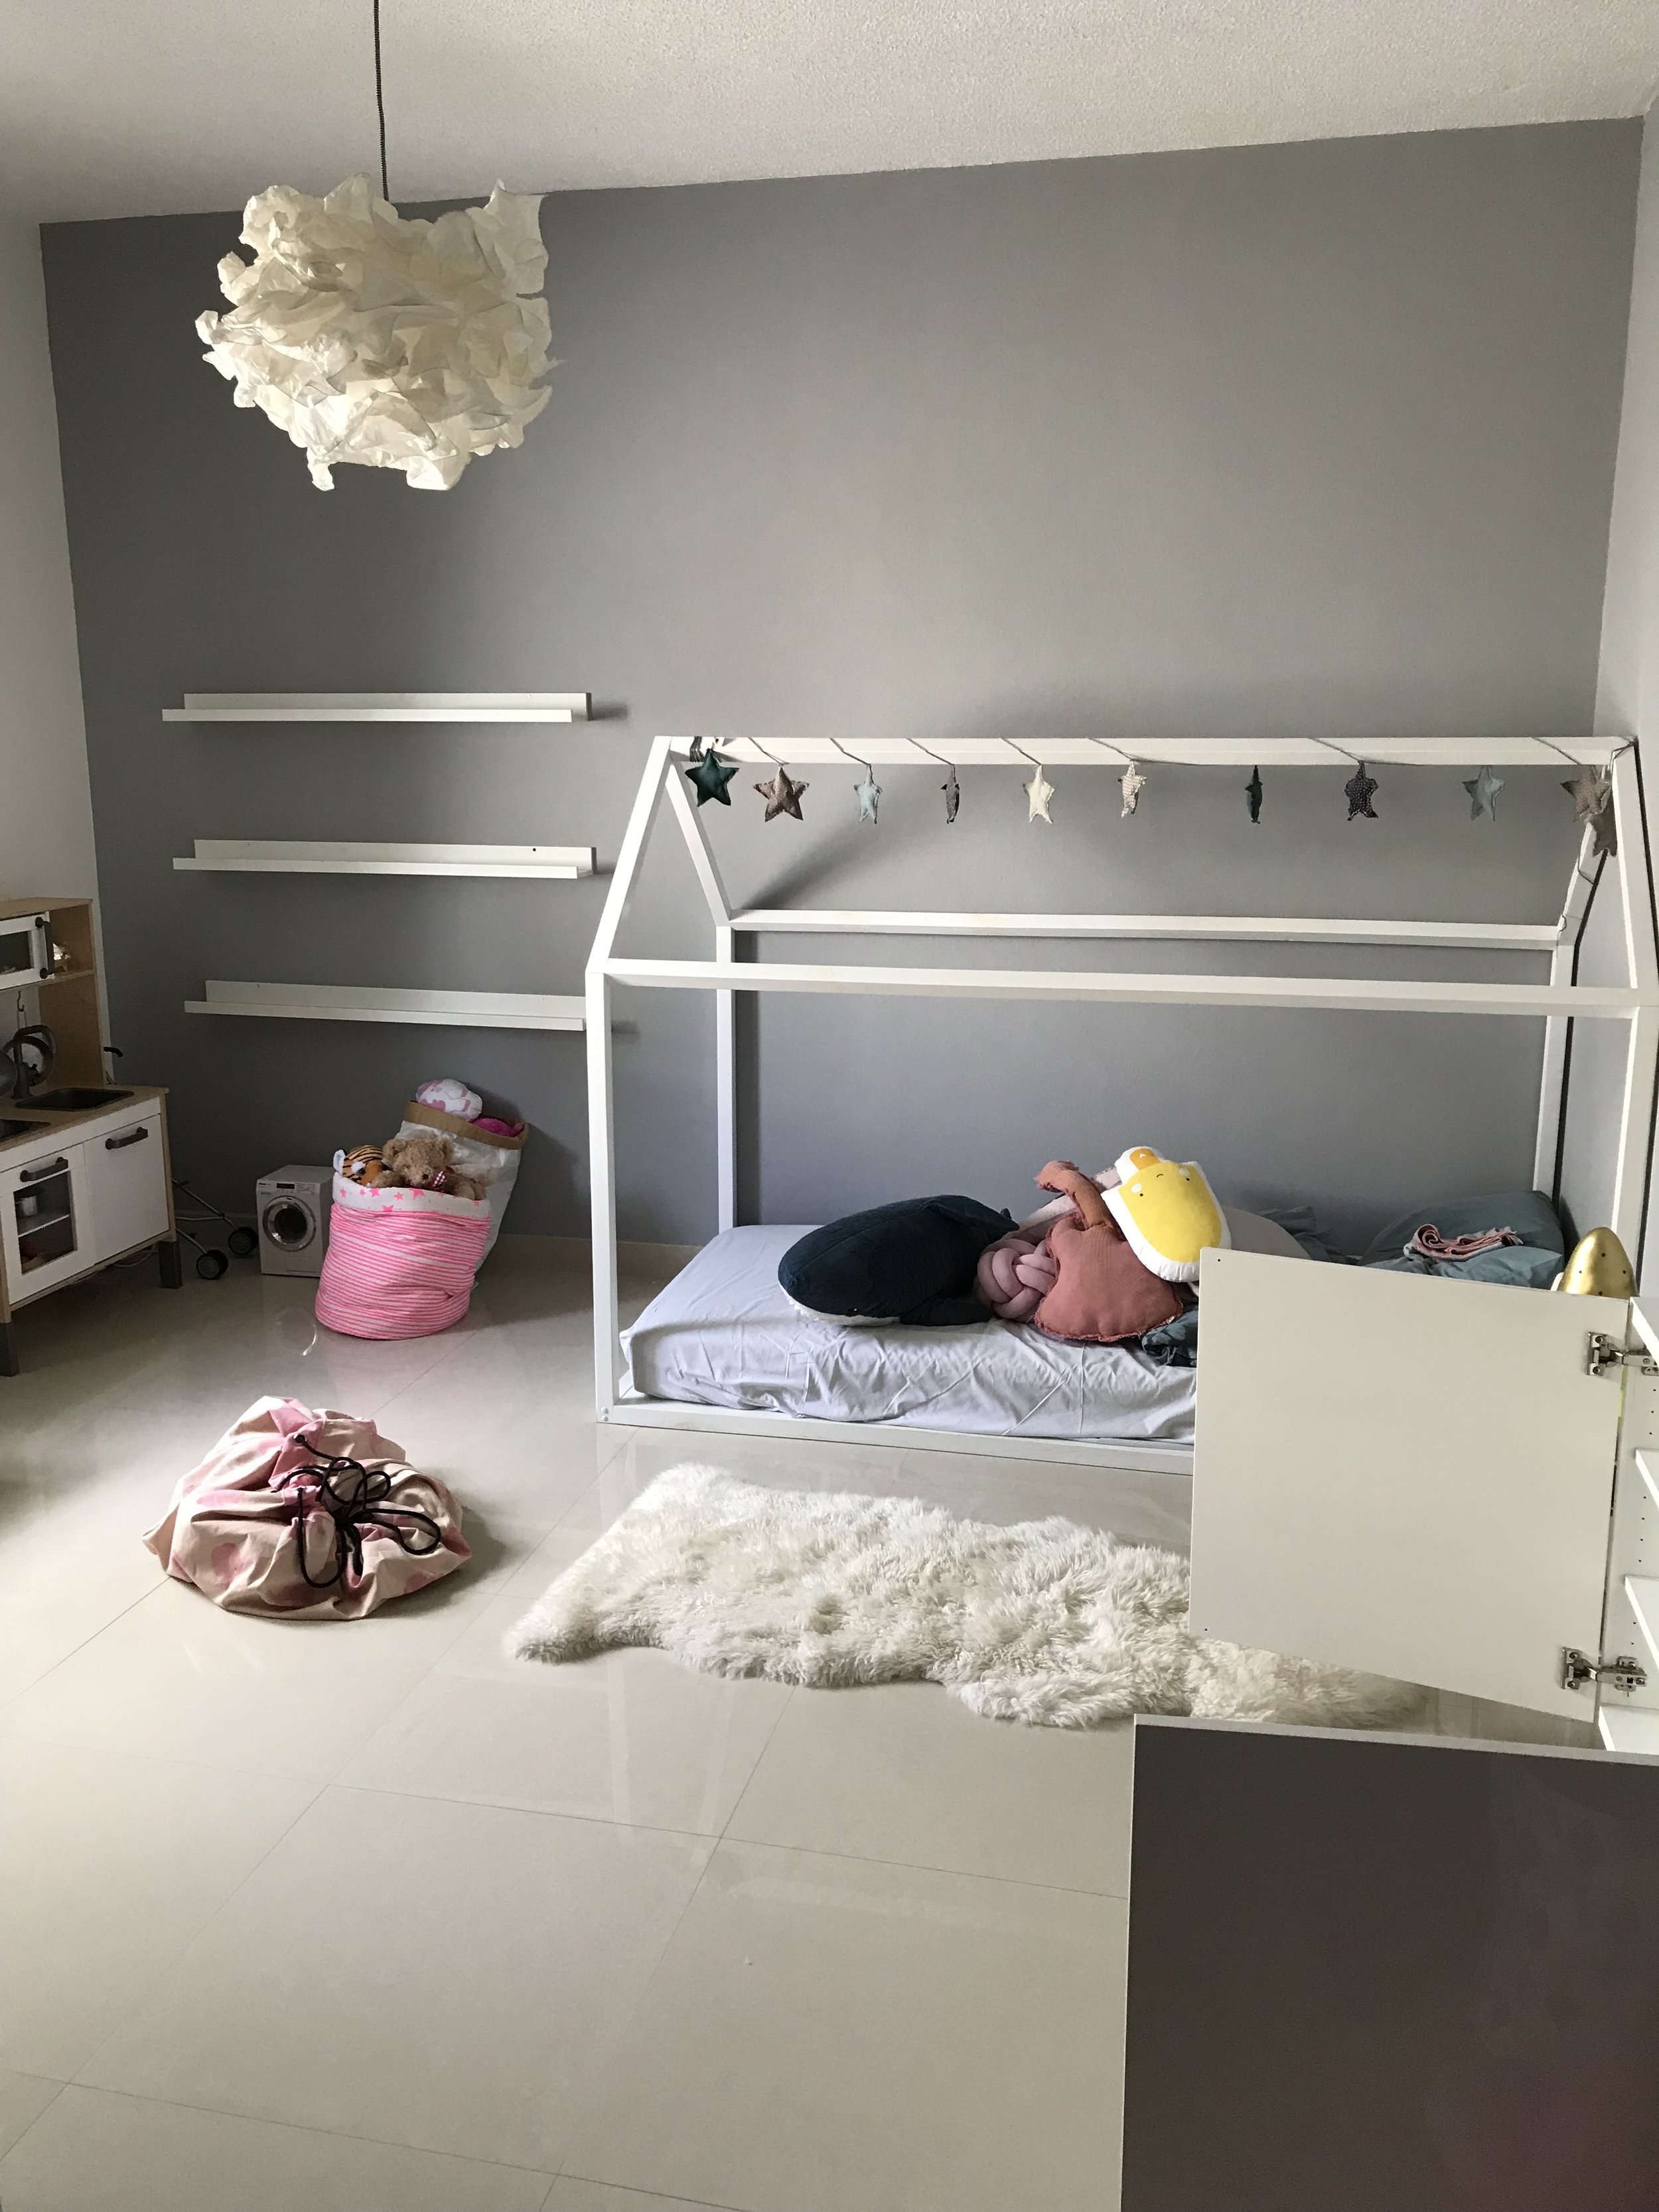


Would love to know what you think of the new room. Leave a comment below and let me know!