GARDEN REVEAL: SAY HELLO TO OUR LITTLE JUNGLE IN THE DESERT...
So this has been, erm, 18 months in the making... You know, just one of those quick projects! But my little Dubai jungle is finally the way I always wanted it to be. It took me a while to get there but I am so bloody happy with the result, I am now convincing myself it was worth the long wait. It's not the biggest garden - is it technically a patio?! - but it's always a popular one on Instagram so I thought I'd give you the low down on my garden redesign, what I did and where I got most of the stuff from. Ready? Let's dig in... (sorry couldn't help a little pun)
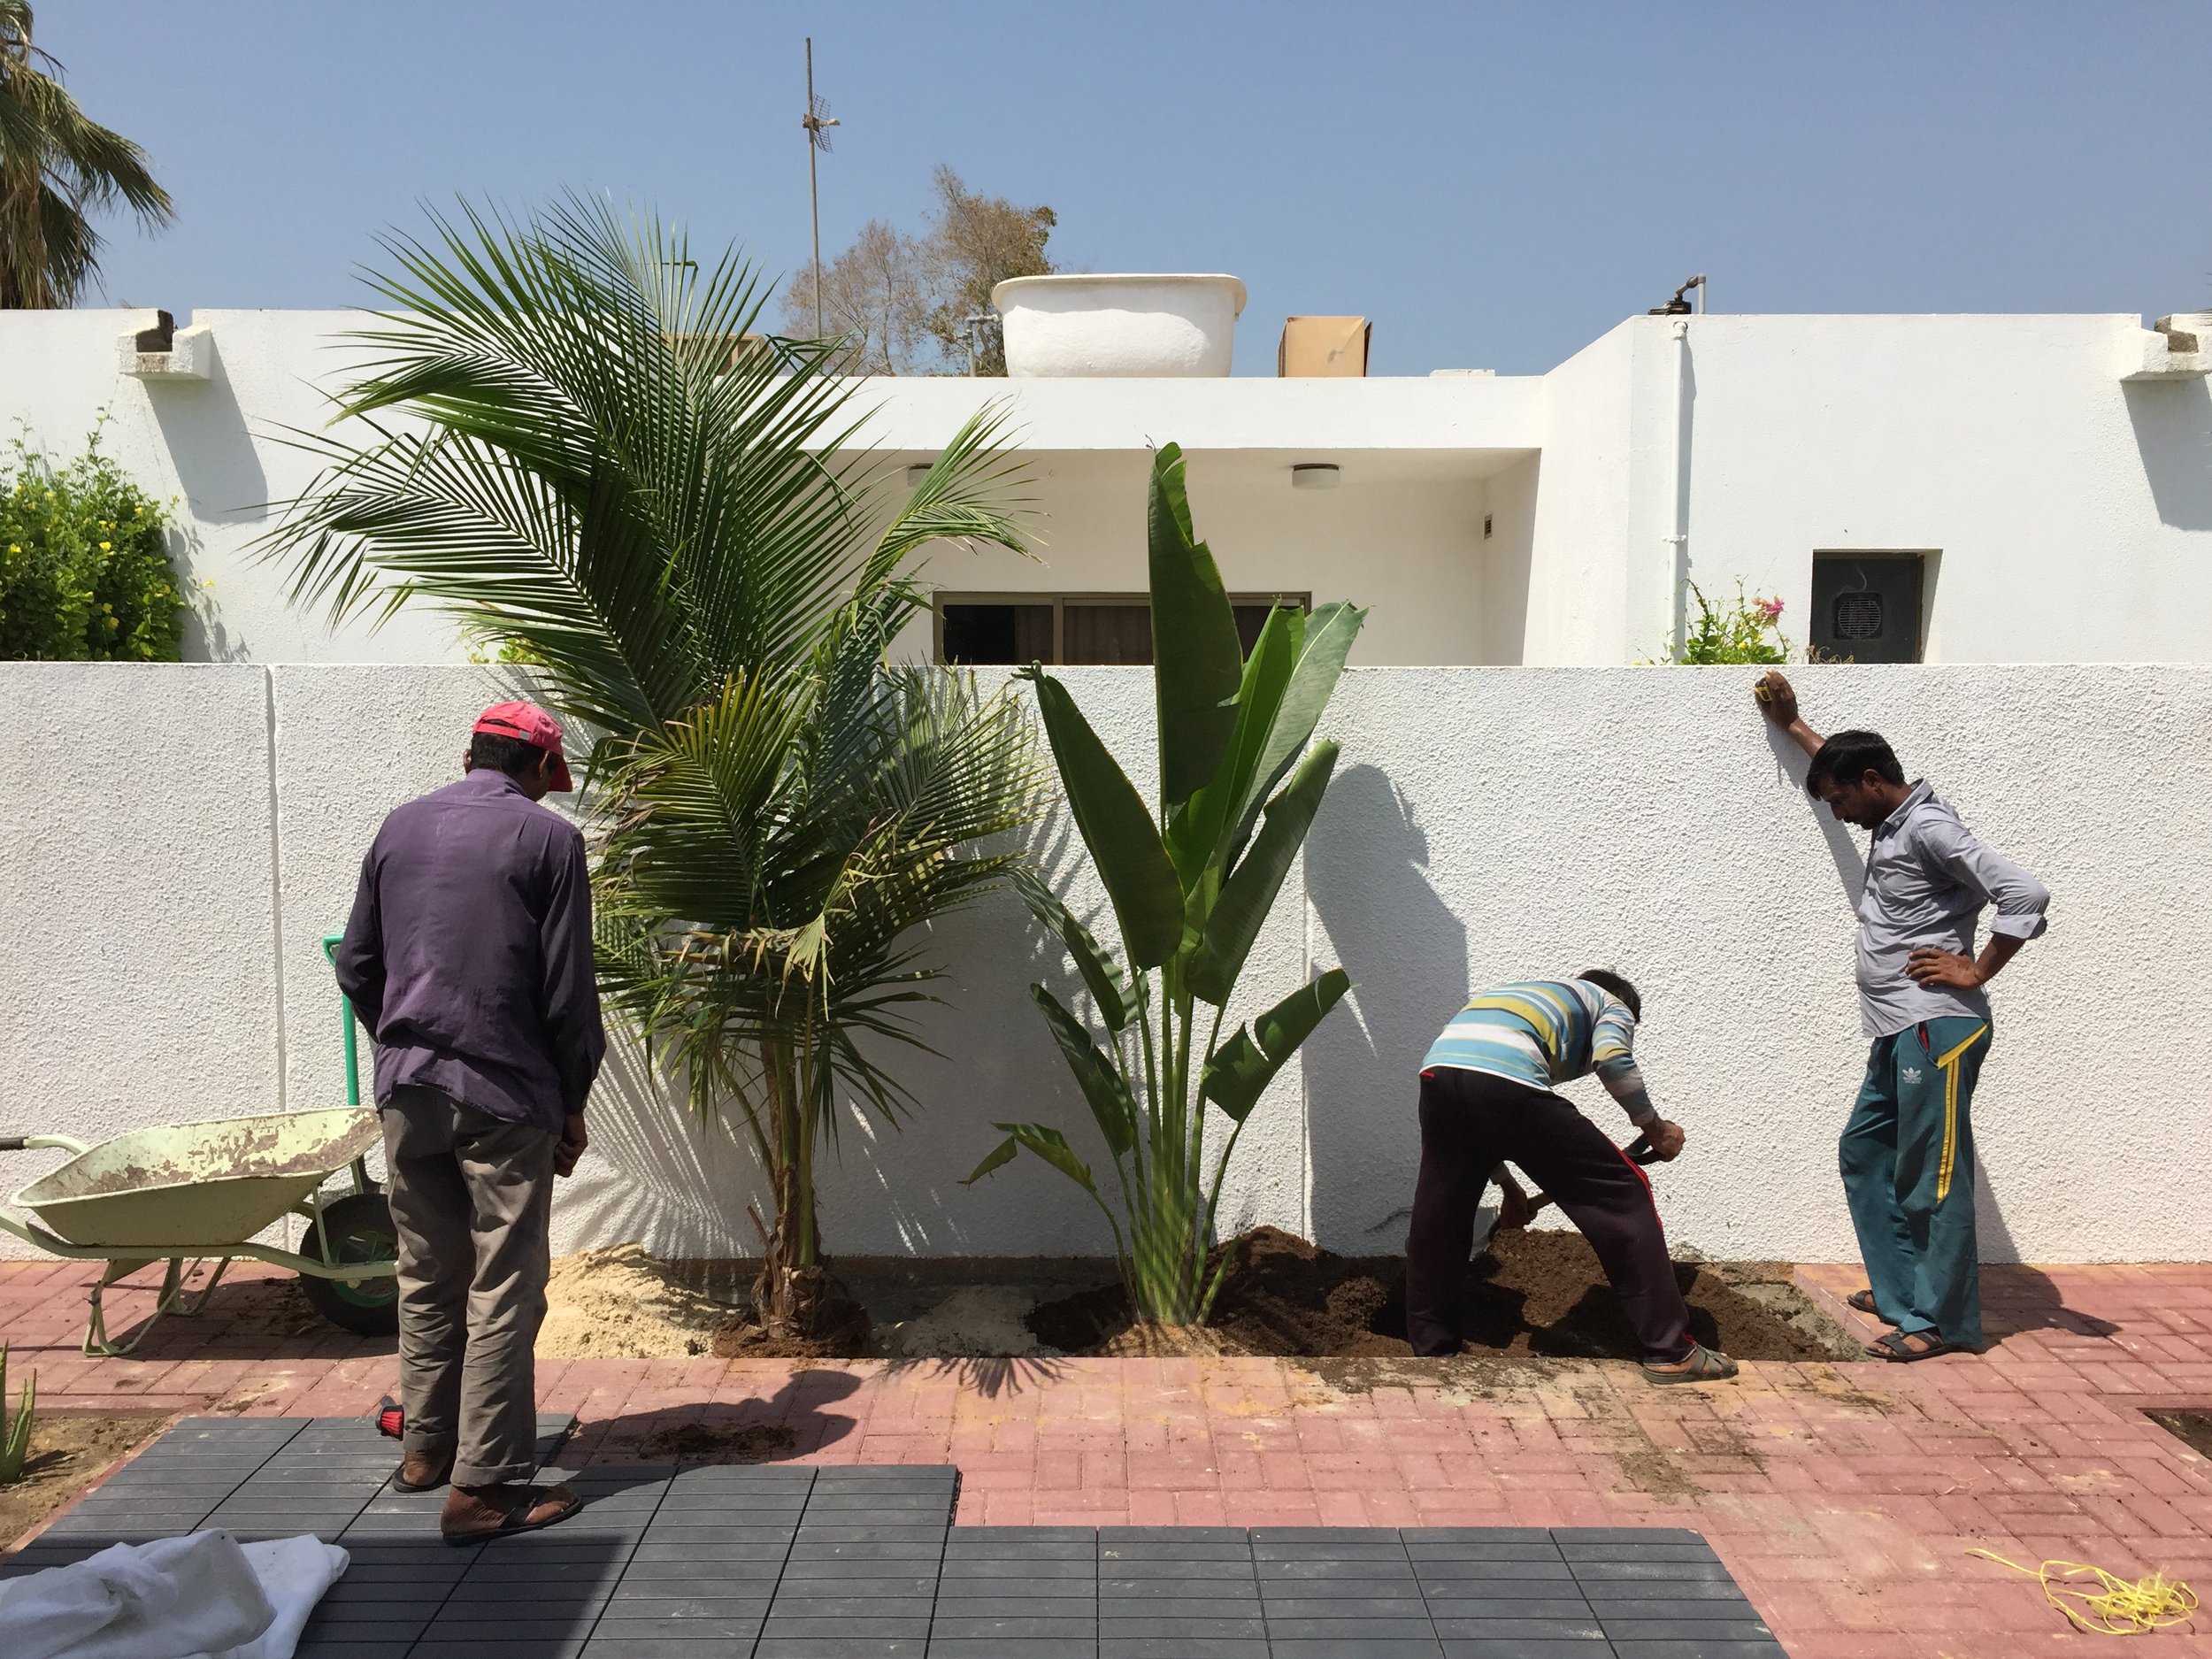
When we moved into our villa 18 months ago, the 'garden' was basically a big white wall, two sandpits and ugly pink concrete tiles. And definitely not as in pretty in pink, if you get my gist. (Scroll down to the end for all the rather shocking 'before' shots!) We didn't have a lot of budget on moving day after haemorrhaging money trying to kit out a 3000 sq. ft house from scratch and it was the middle of the summer 2016 with temperatures averaging 45 degrees so a garden revamp was not exactly at the top of the priority list - so we didn't bother to do anything about it until a few months later.


Plant Feature Wall
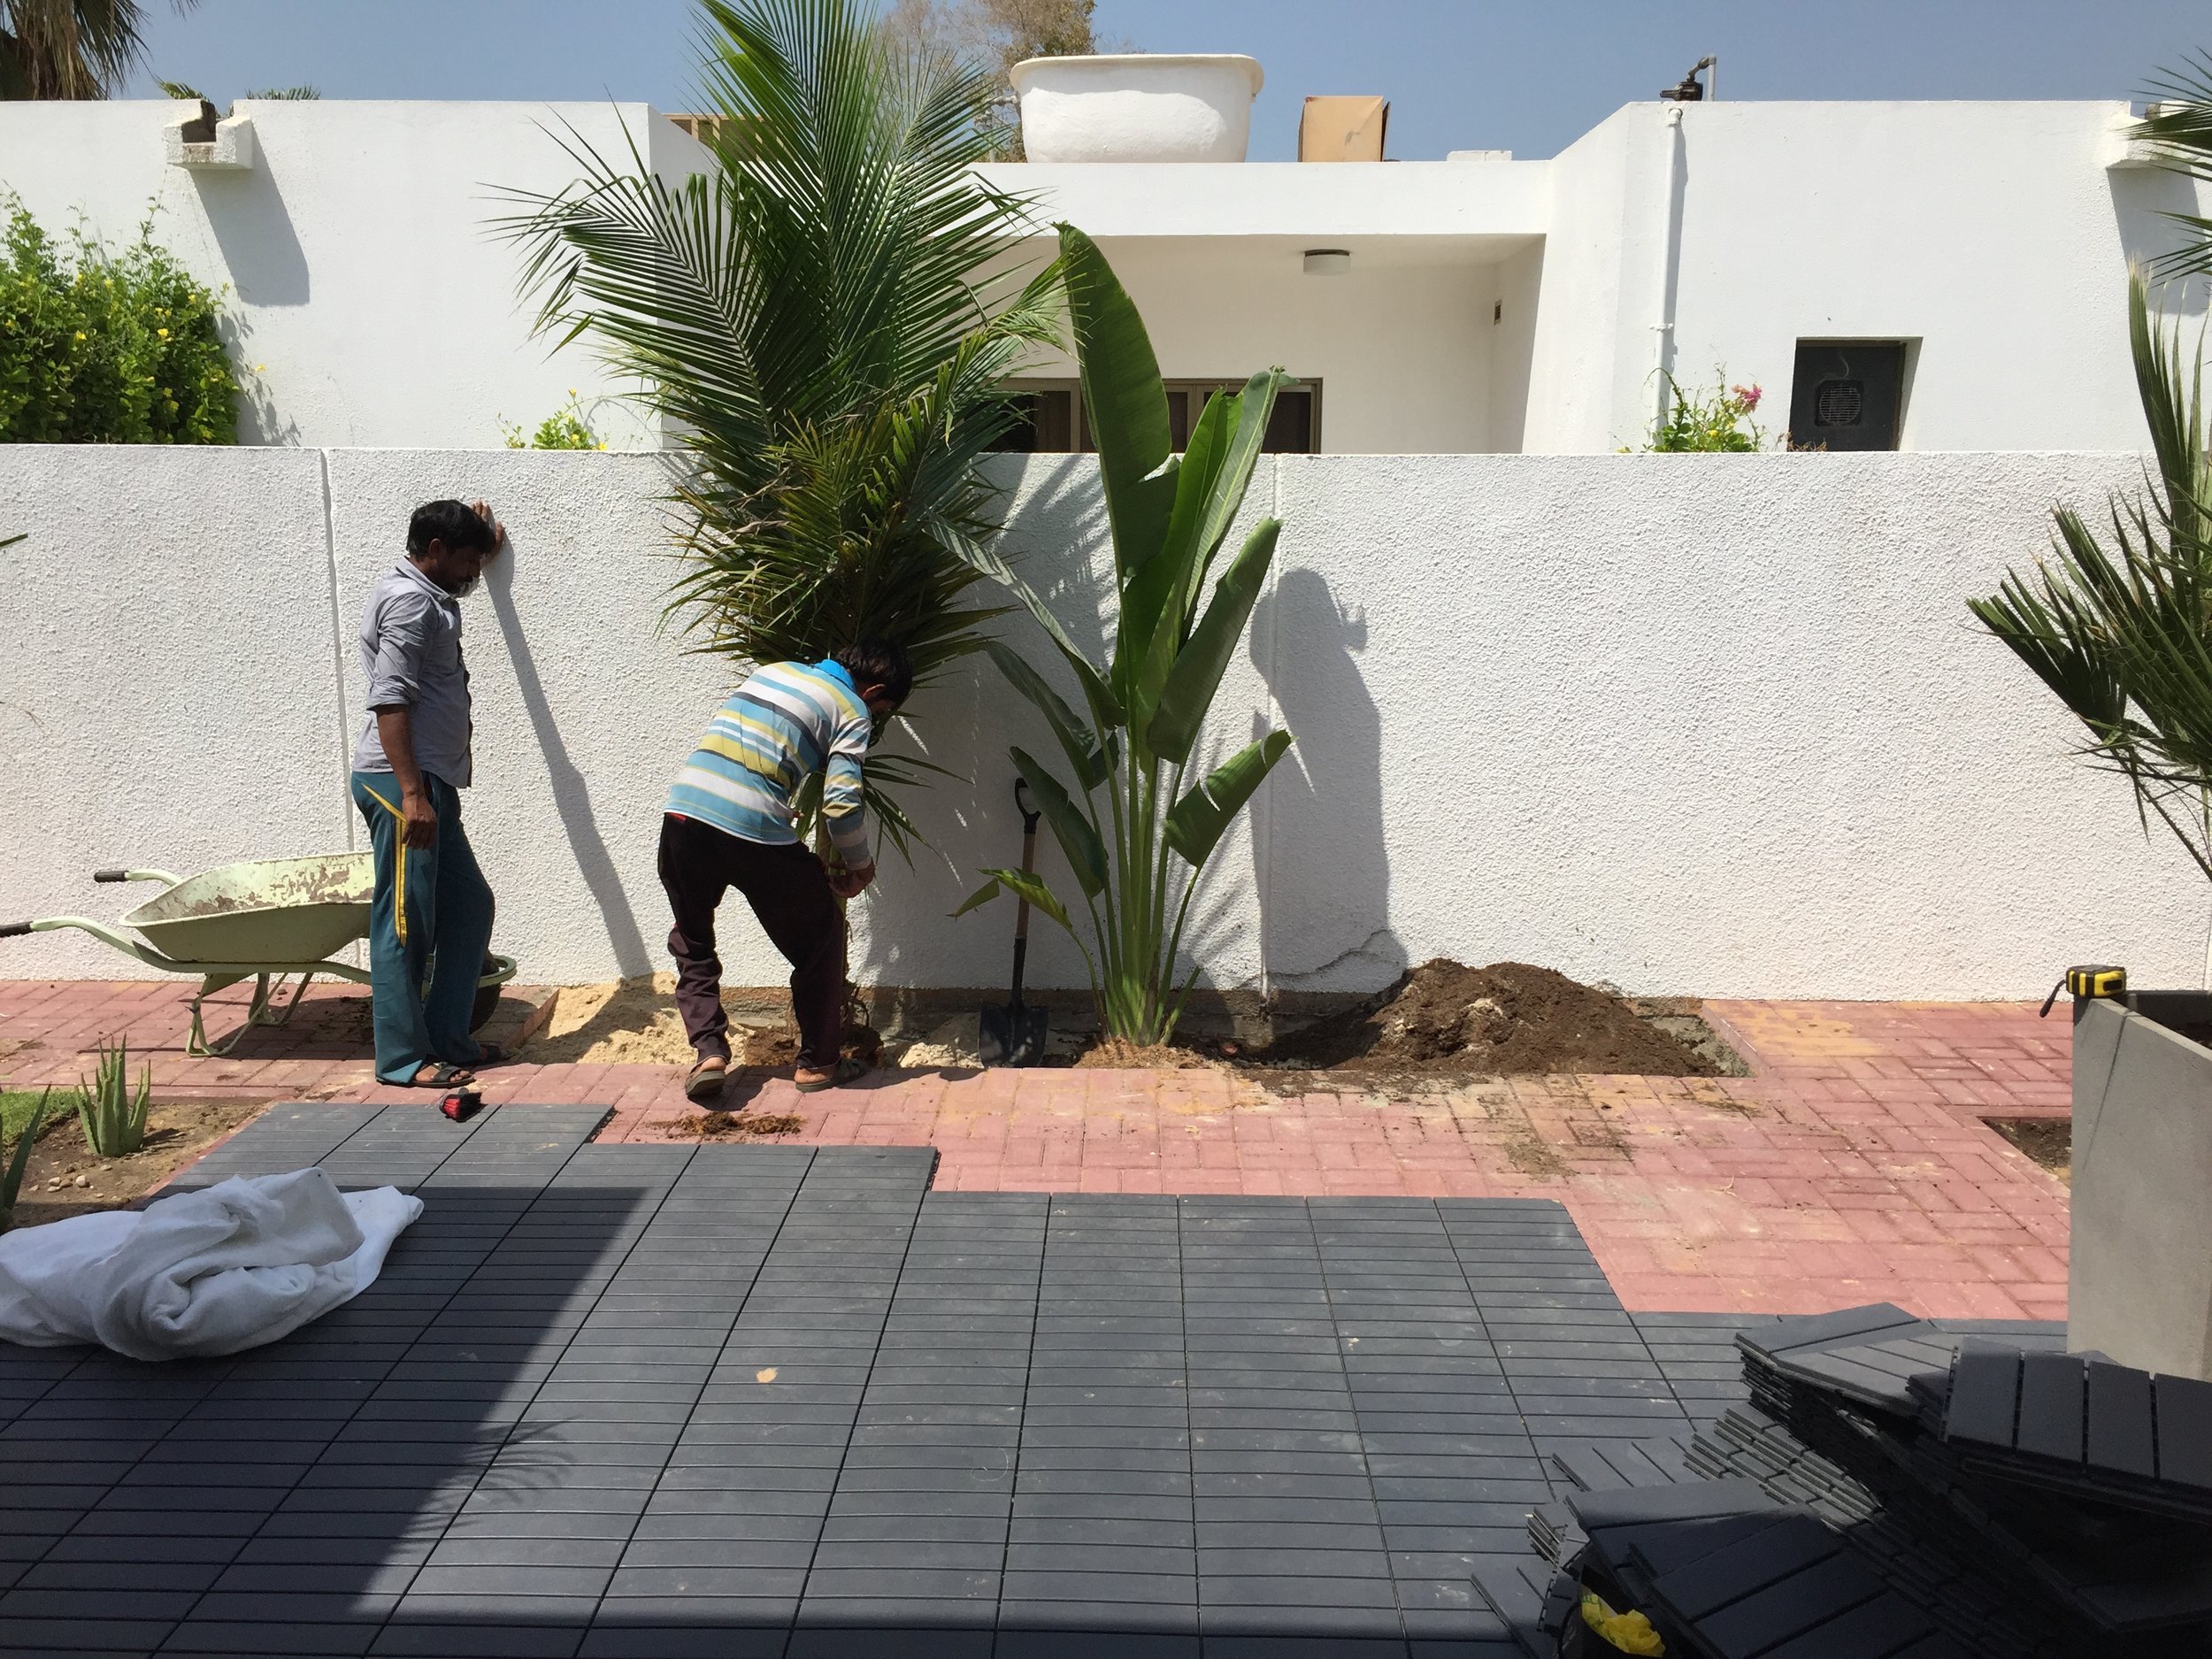
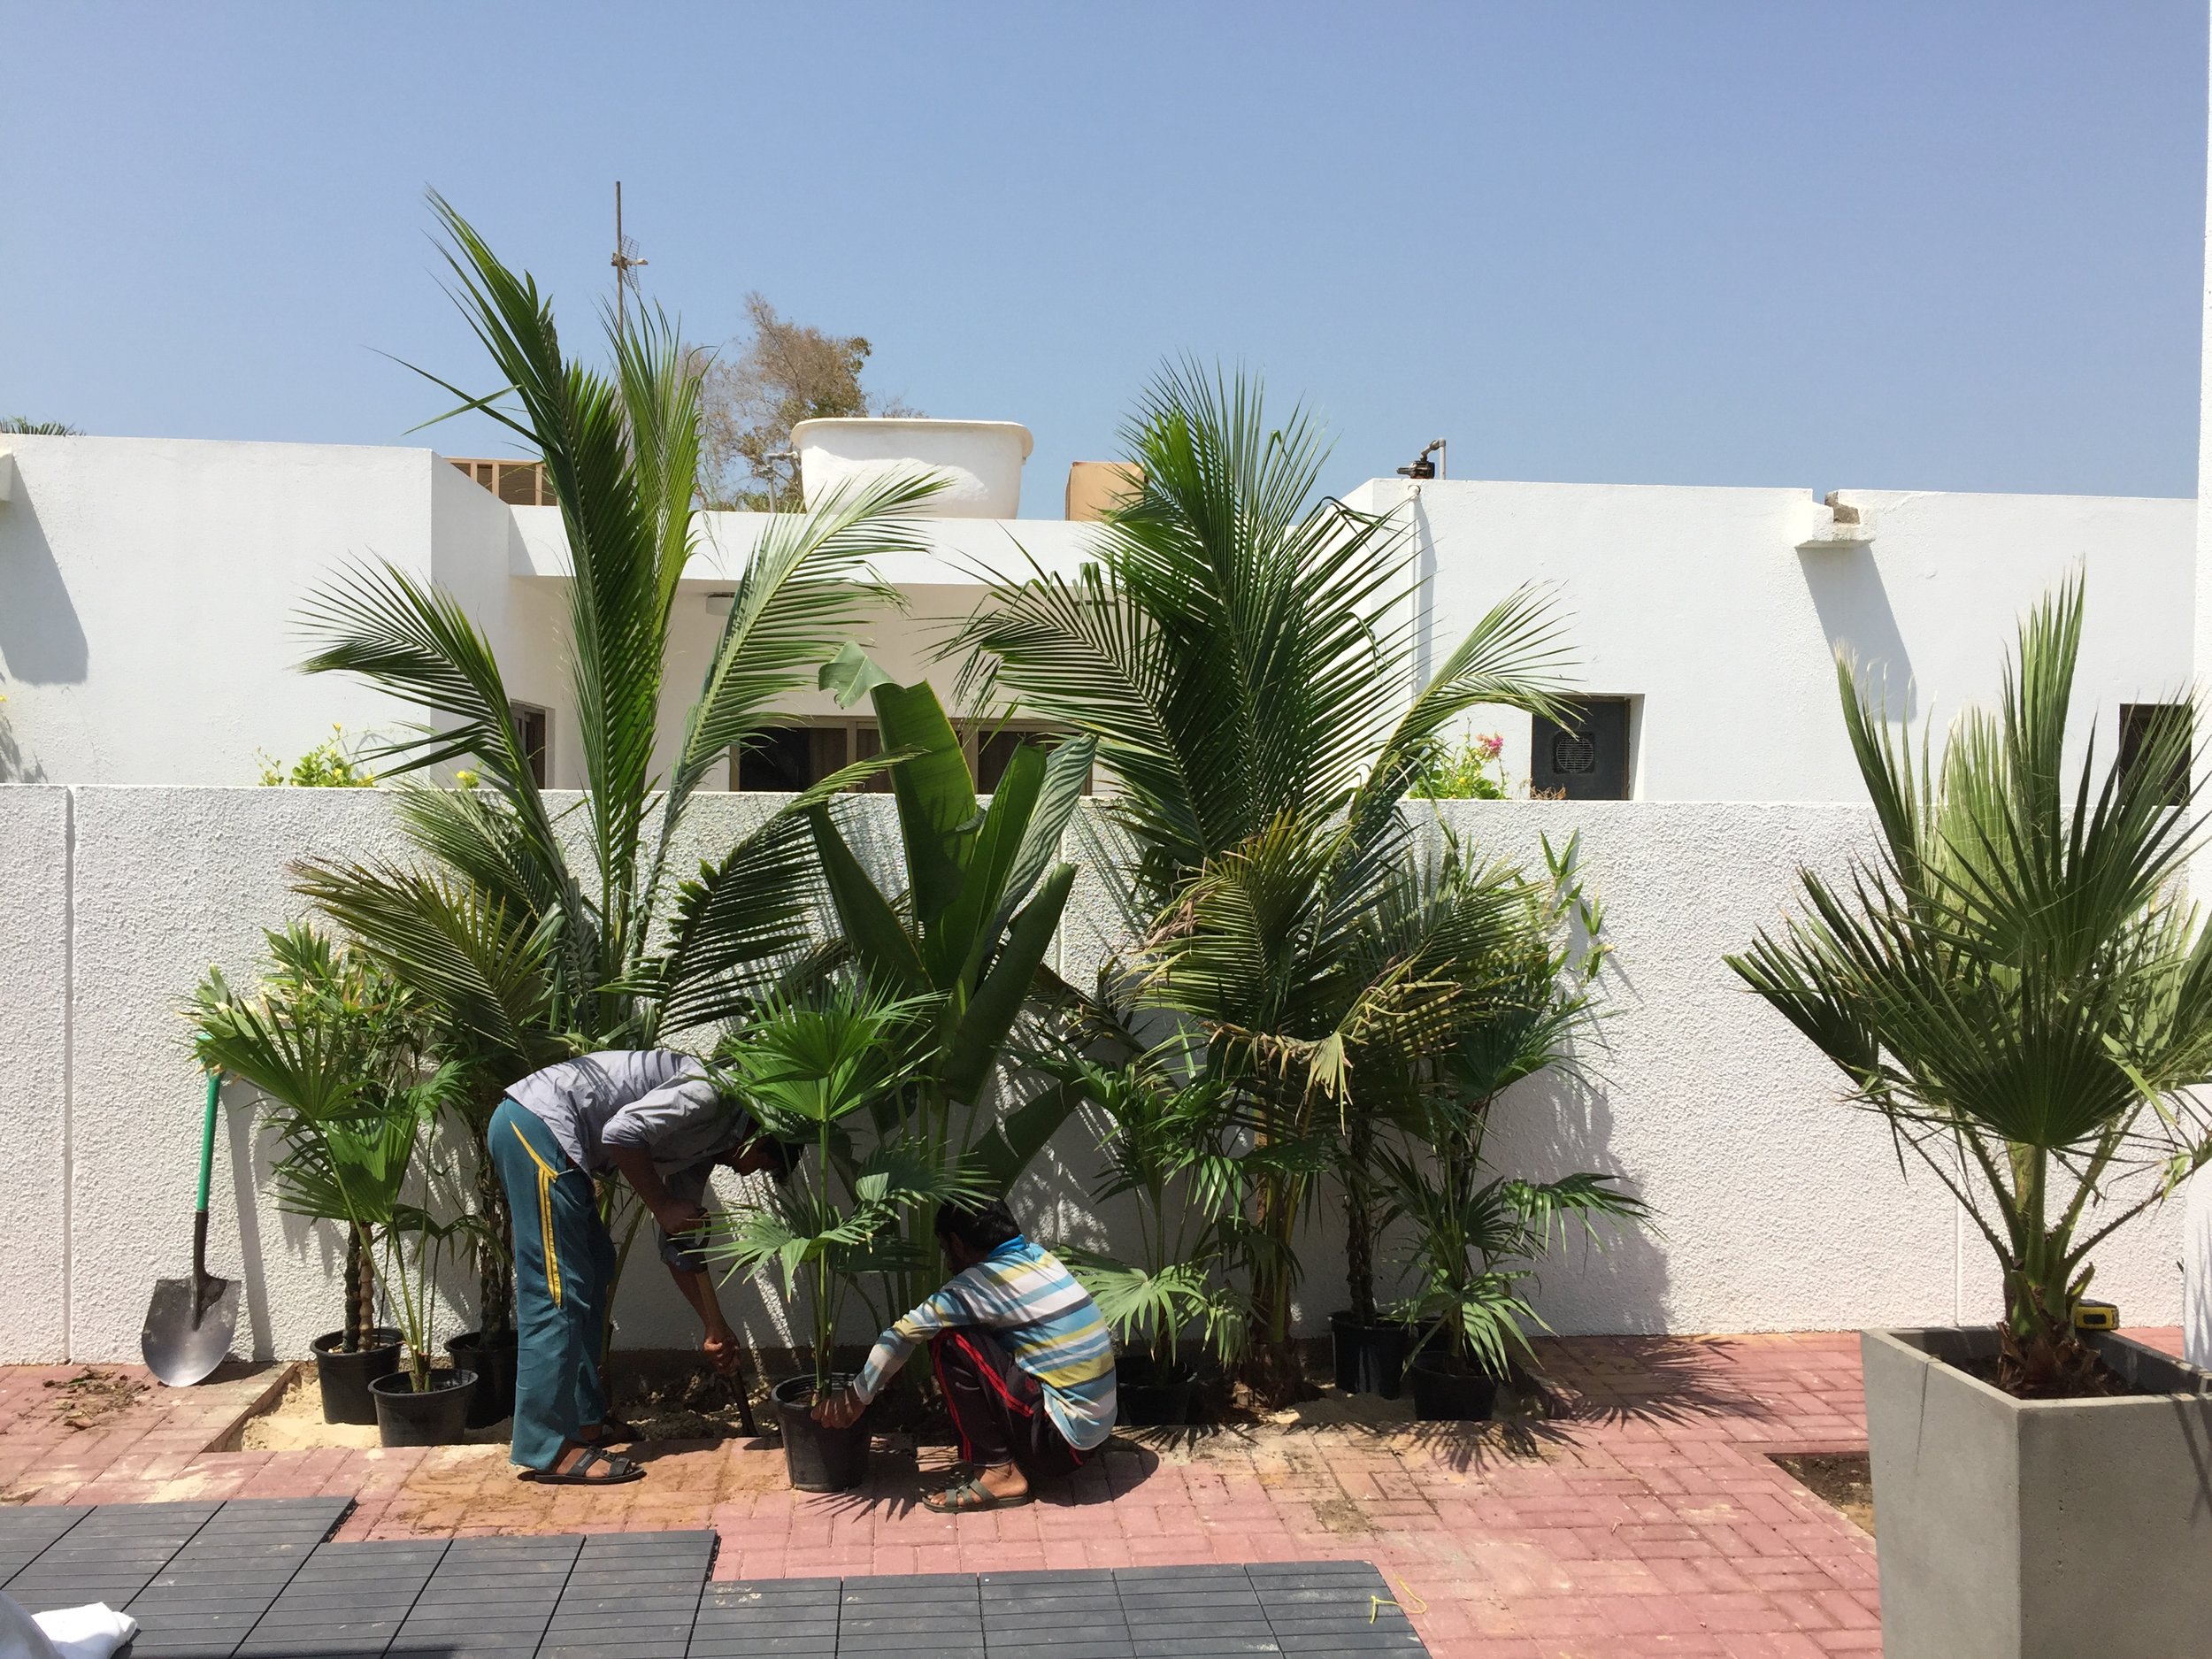
The first thing we wanted to do was add greenery - that blank white wall was the first thing you could see from inside, gave no intimacy from the neighbours' garden and was totally uninspiring to say the least. I browsed on Pinterest endlessly dreaming about exotic palm trees and how to make the space a mini tropical jungle we'd be happy to hang out in during the cooler months. I was completely clueless about outdoor plants let alone exotic ones so enlisted the help of a dear friend who has way greener fingers than me to come up with a plan.
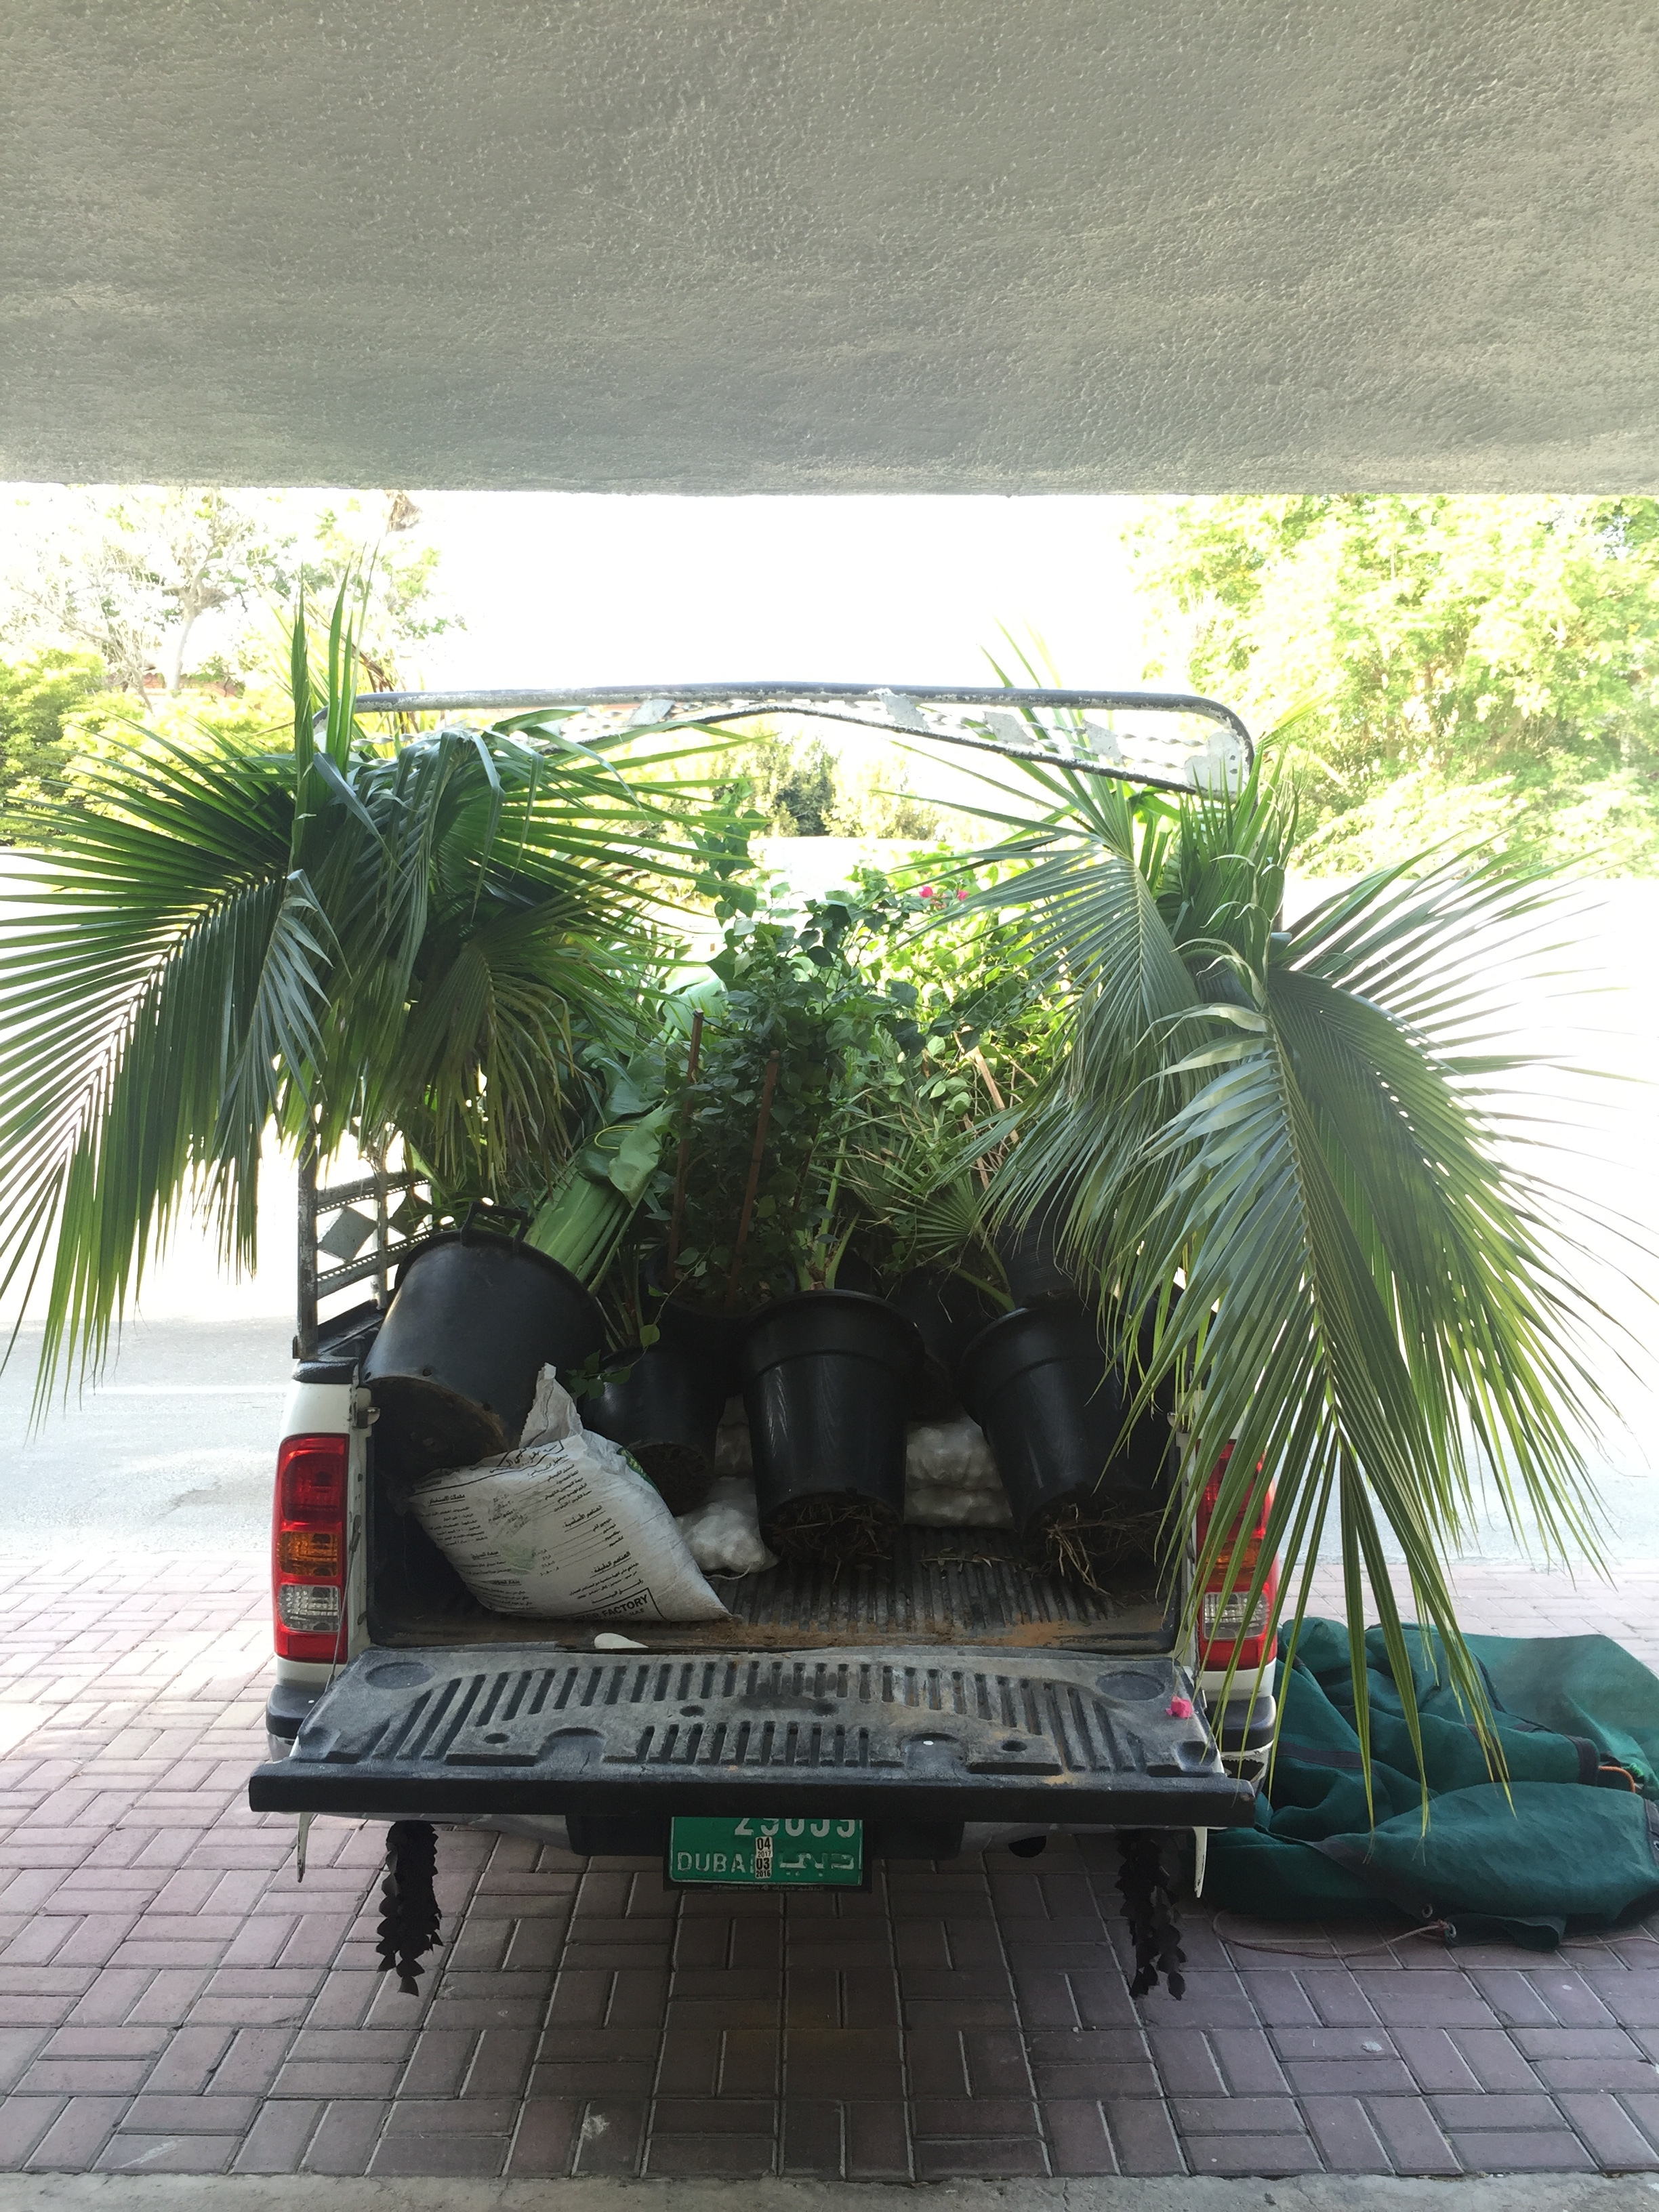
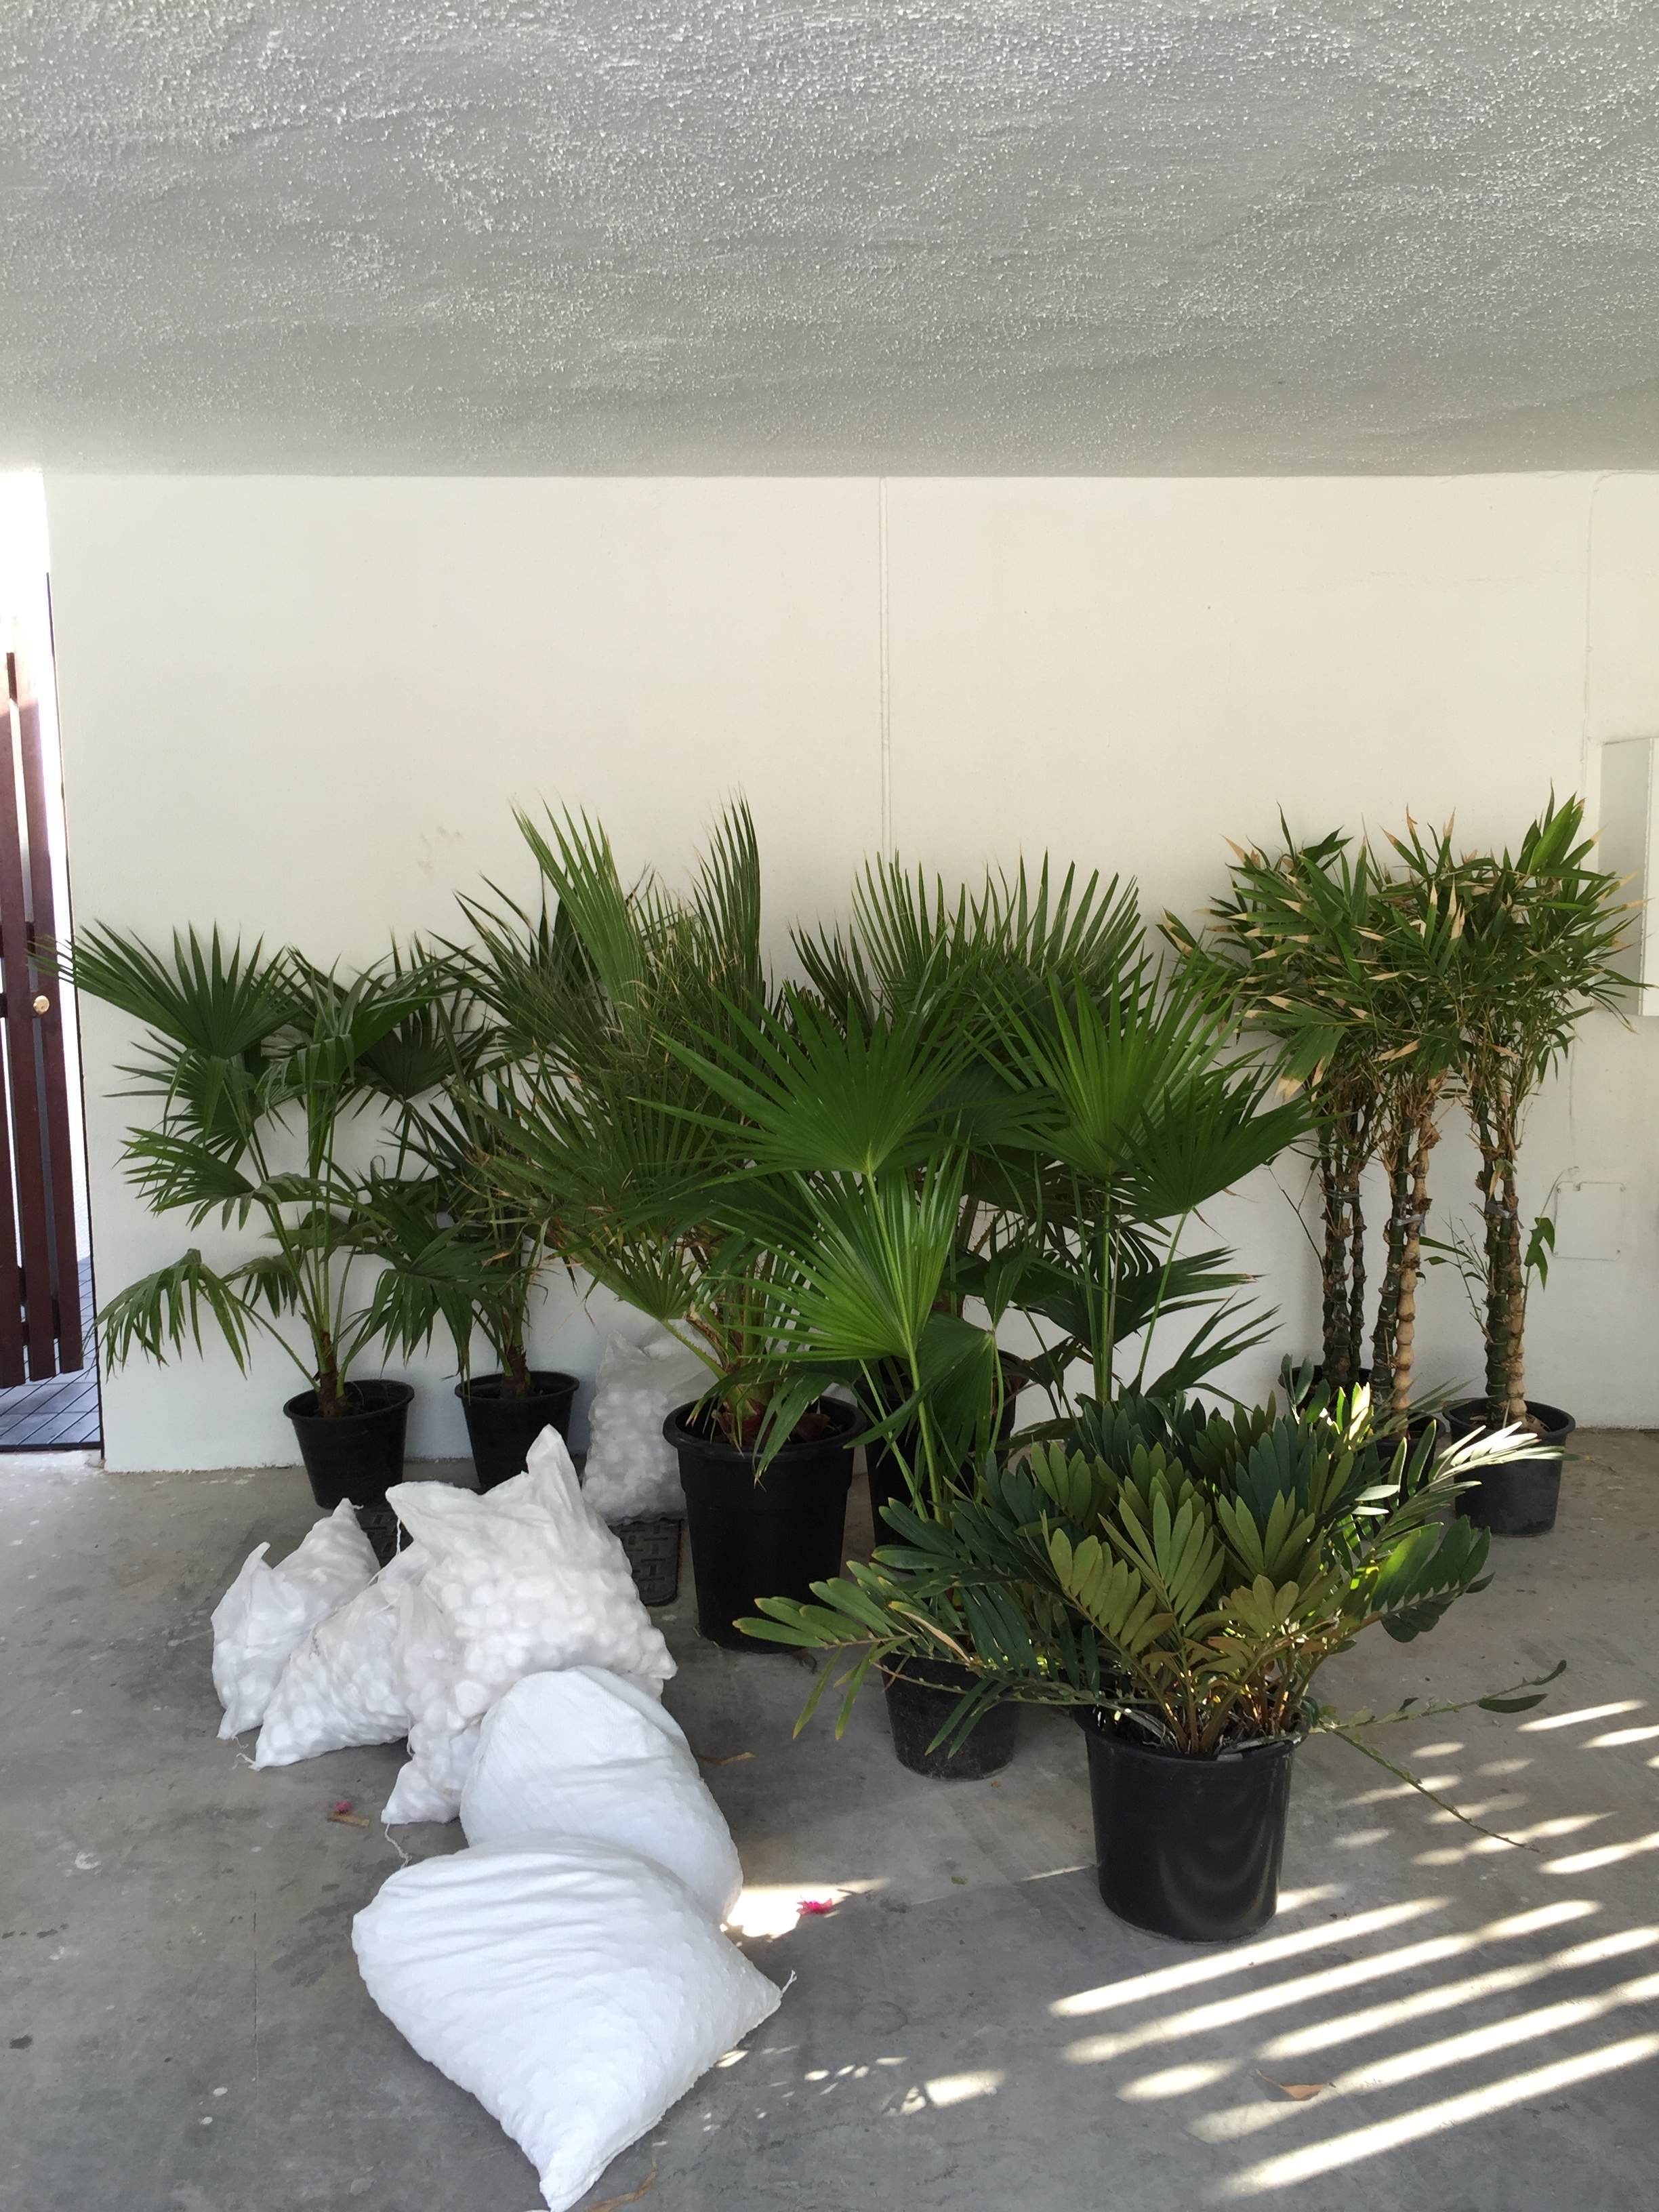
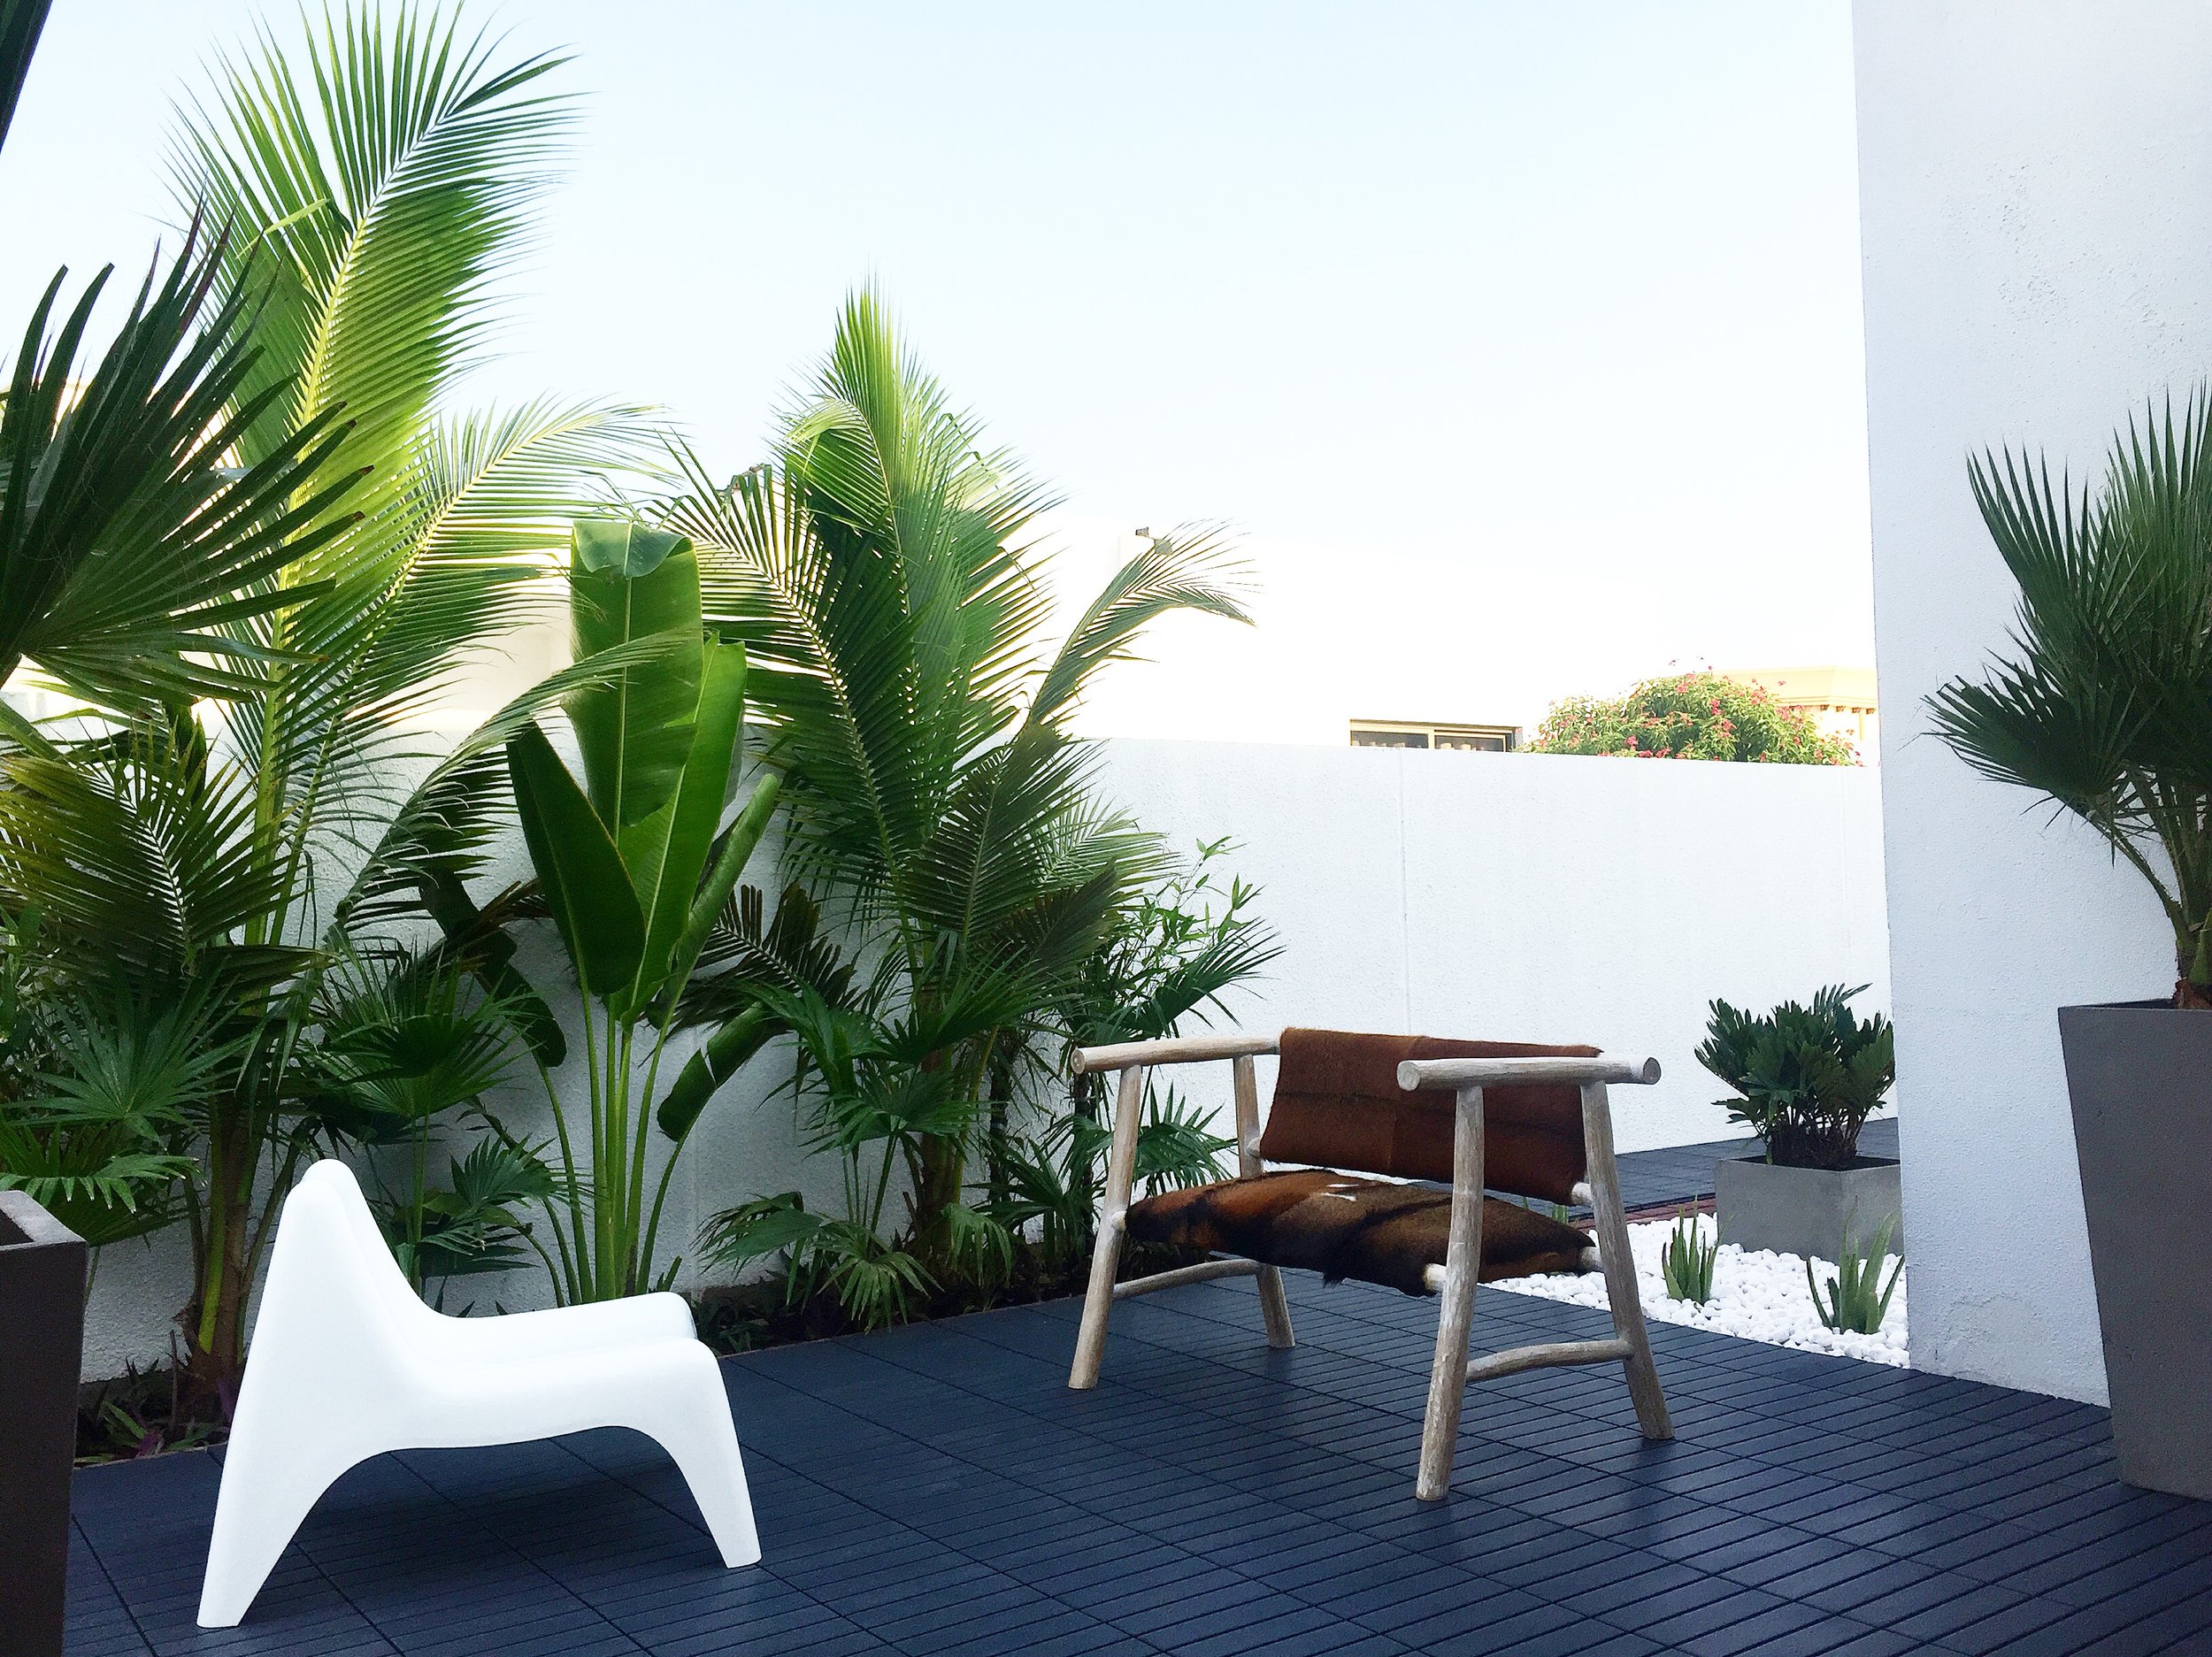
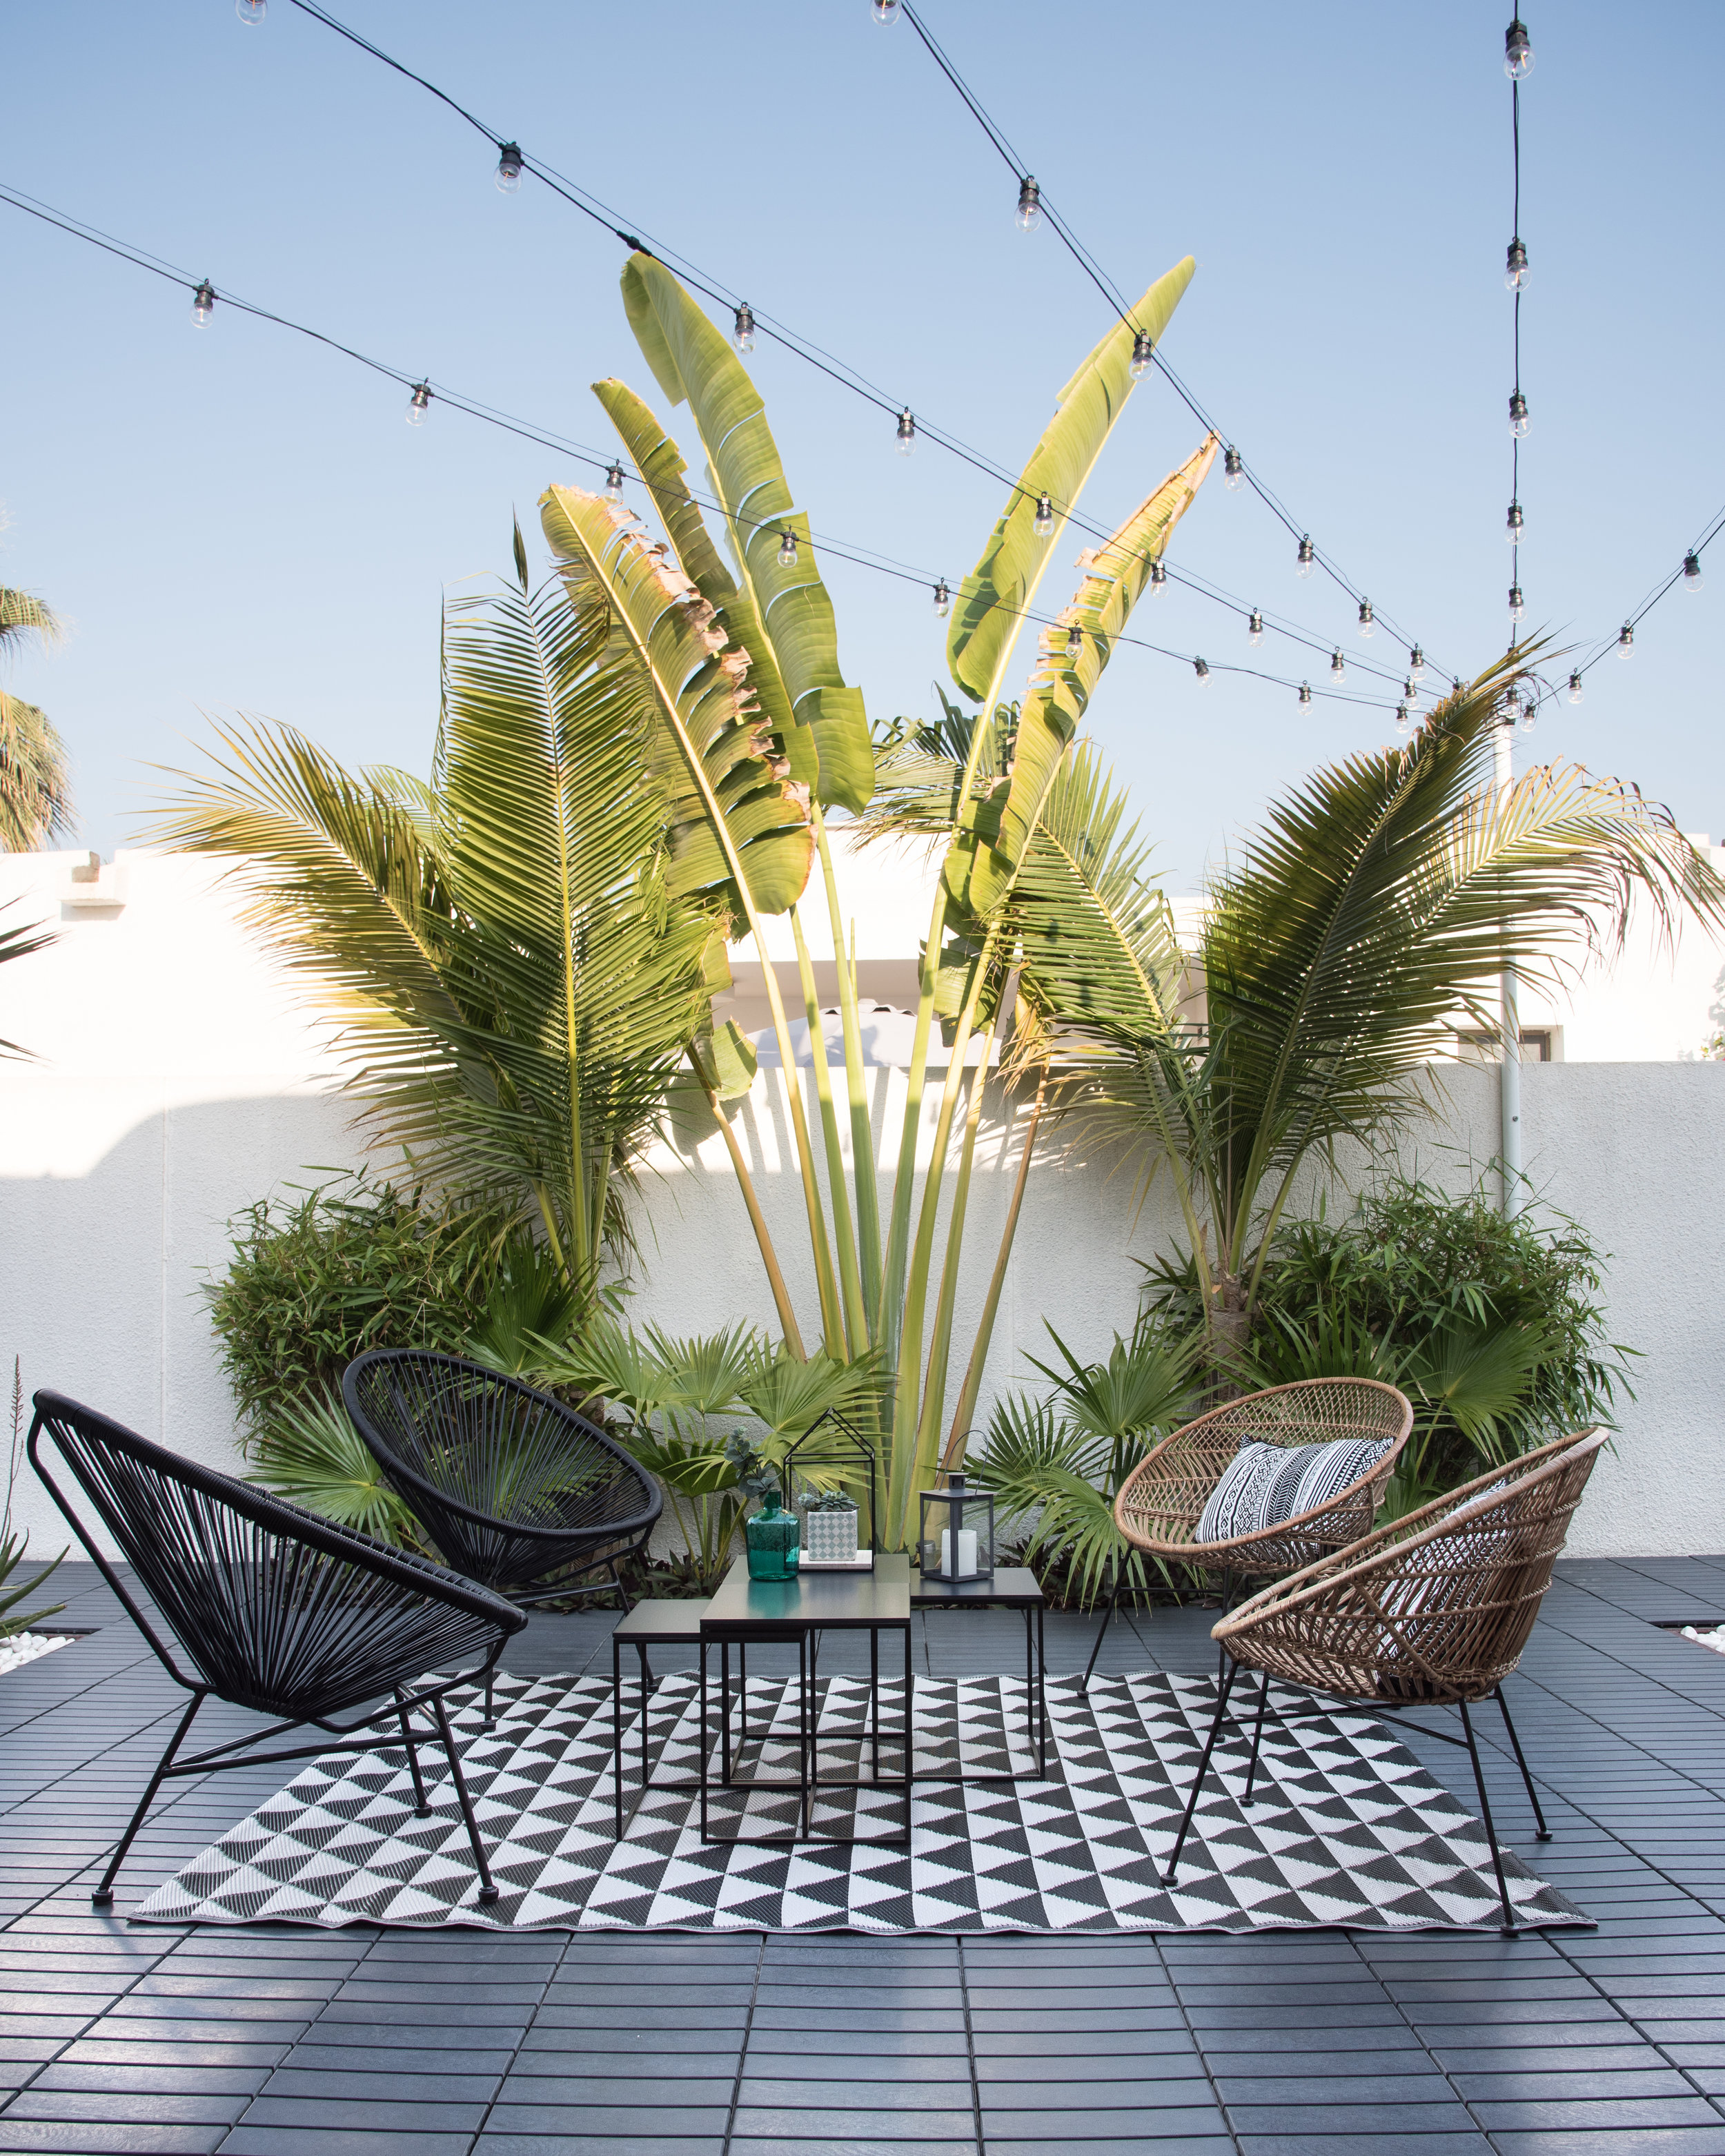
She gave me the idea of a plant feature wall by digging up a large bed against blank wall for what is now the focus point of the garden - It's made of one large traveller's palm, two small coconut trees, a few bamboo plants and Livistona palms. The ground is covered in purple Rhoeo which creates a lovely carpet over the soil. All the plants were sourced from Plant Souq (also known as Warsan Nurseries) - if you haven't been yet, well may I suggest a little trip asap.
Flooring
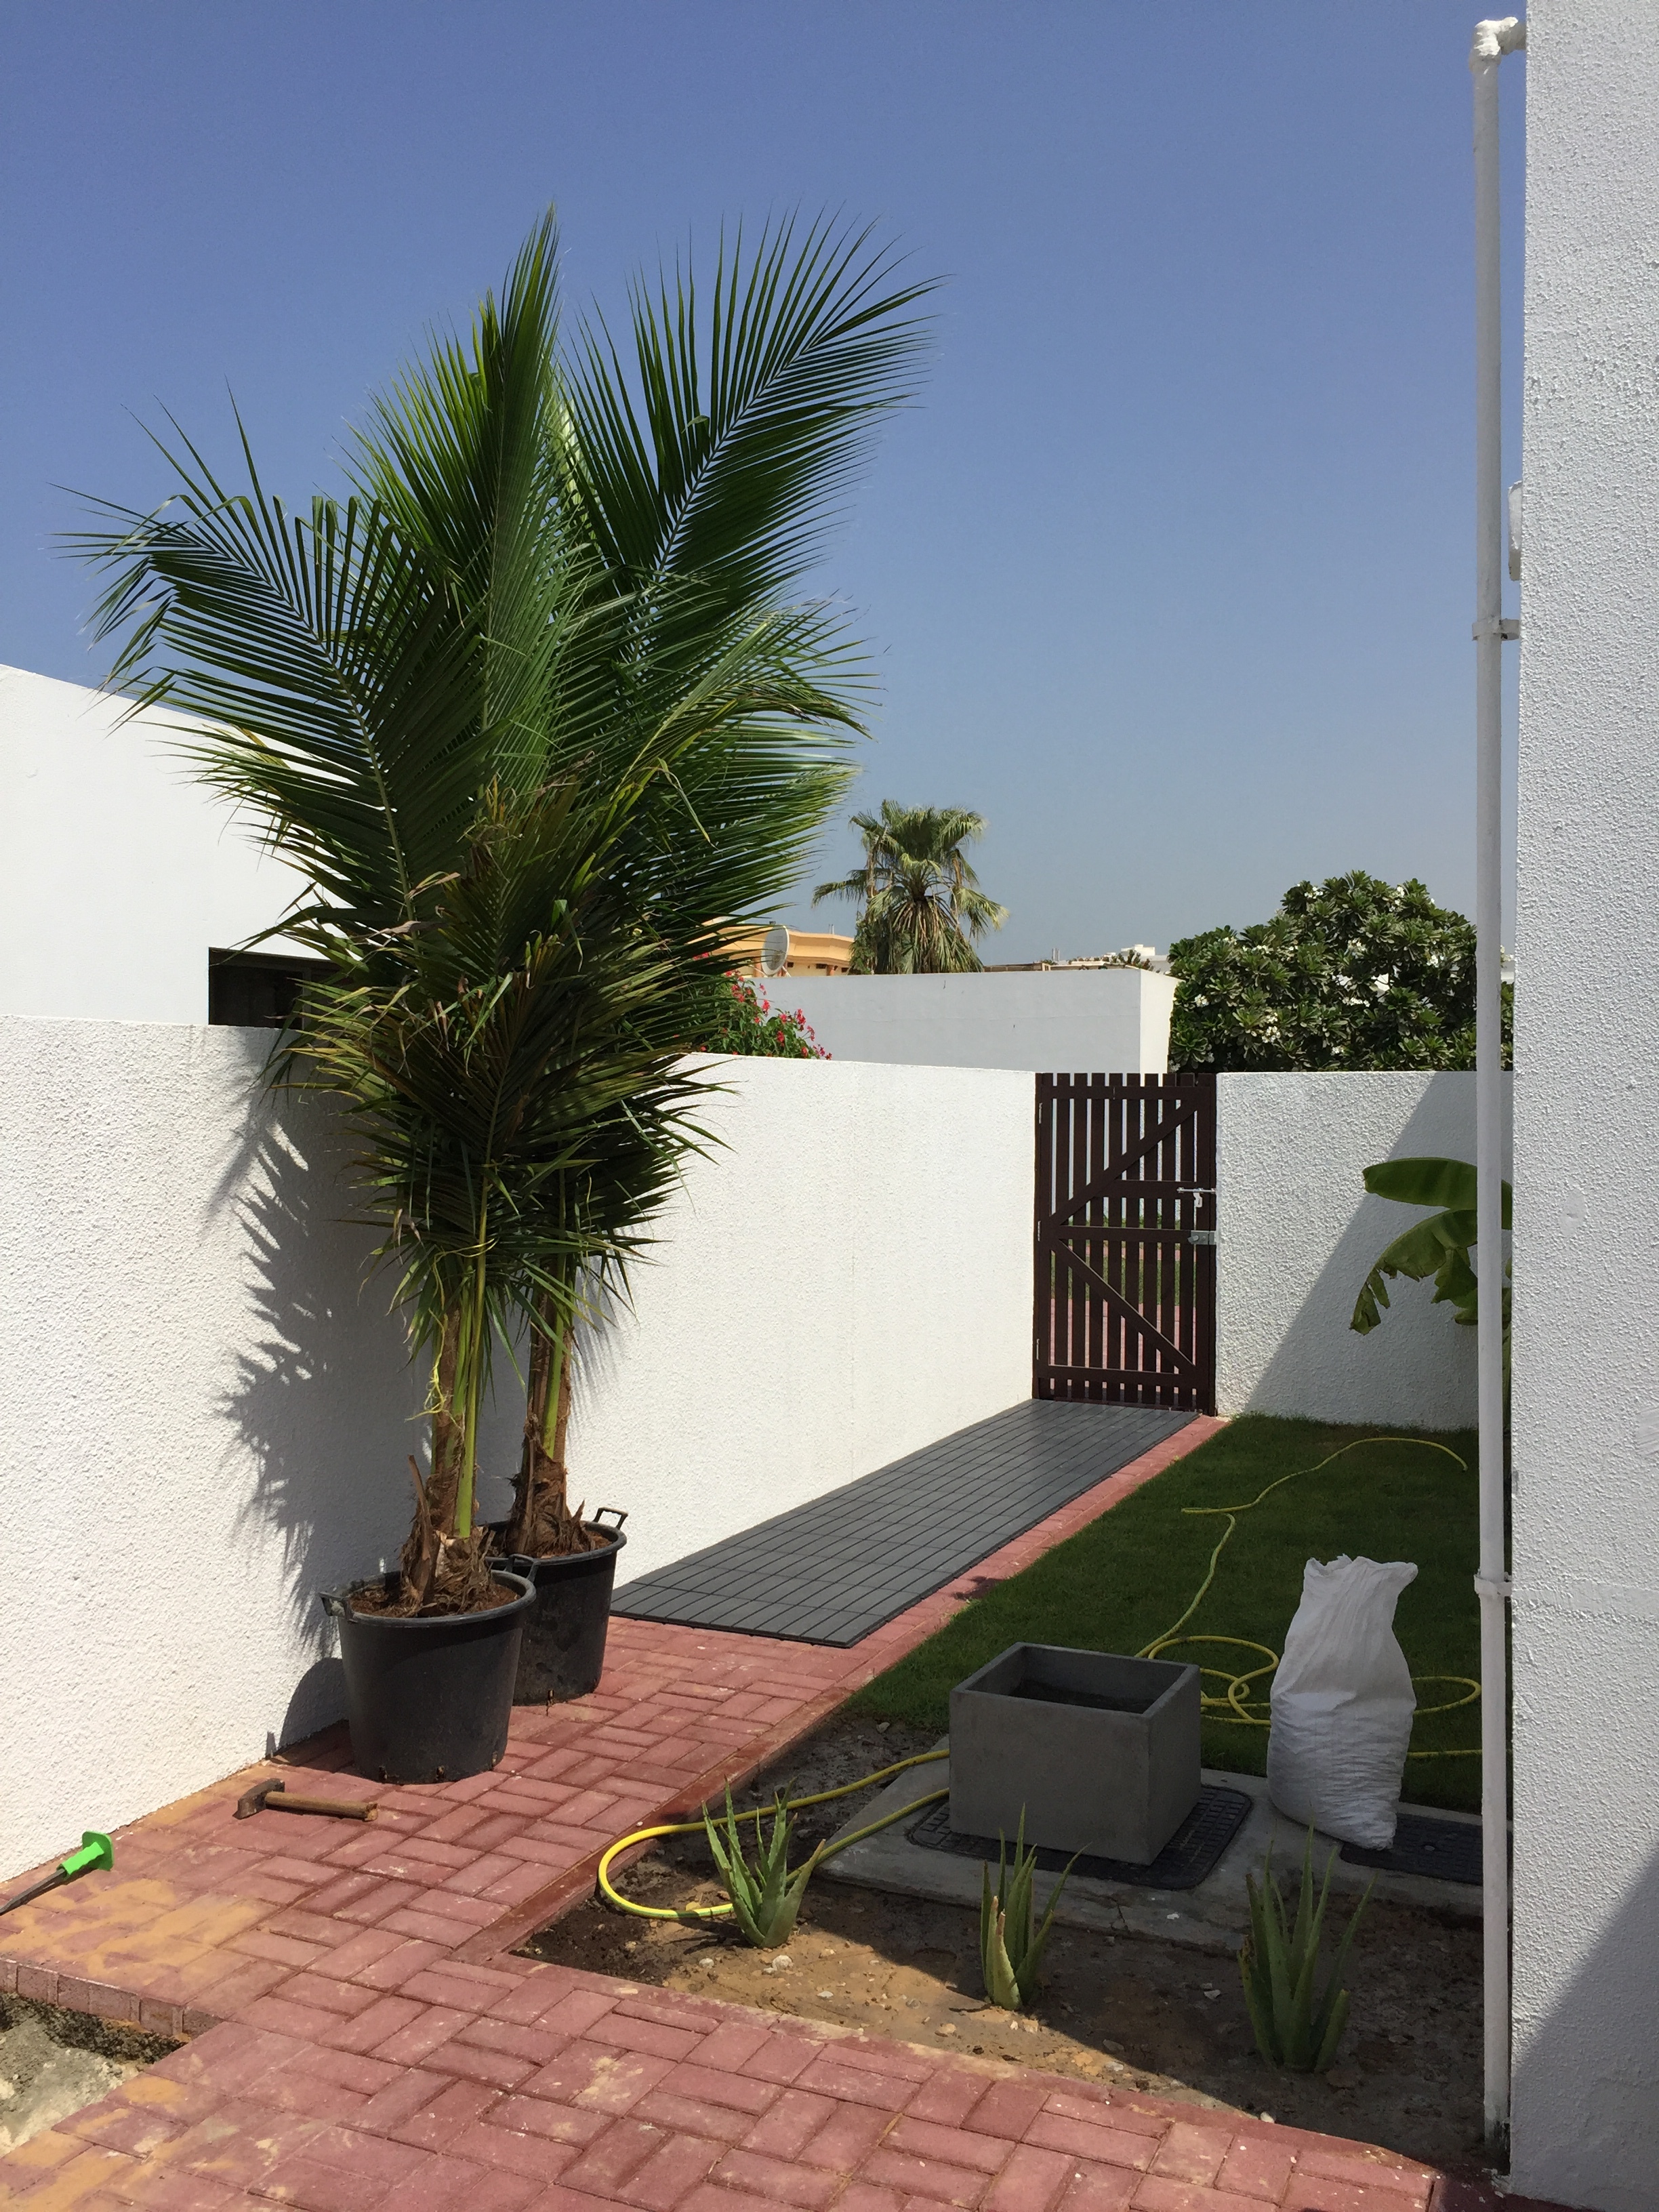
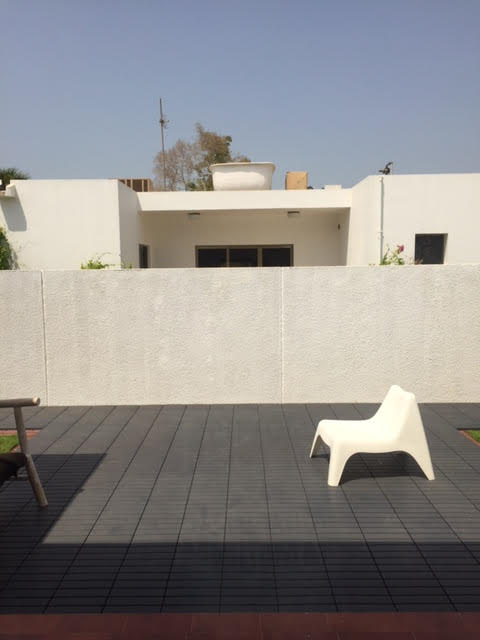
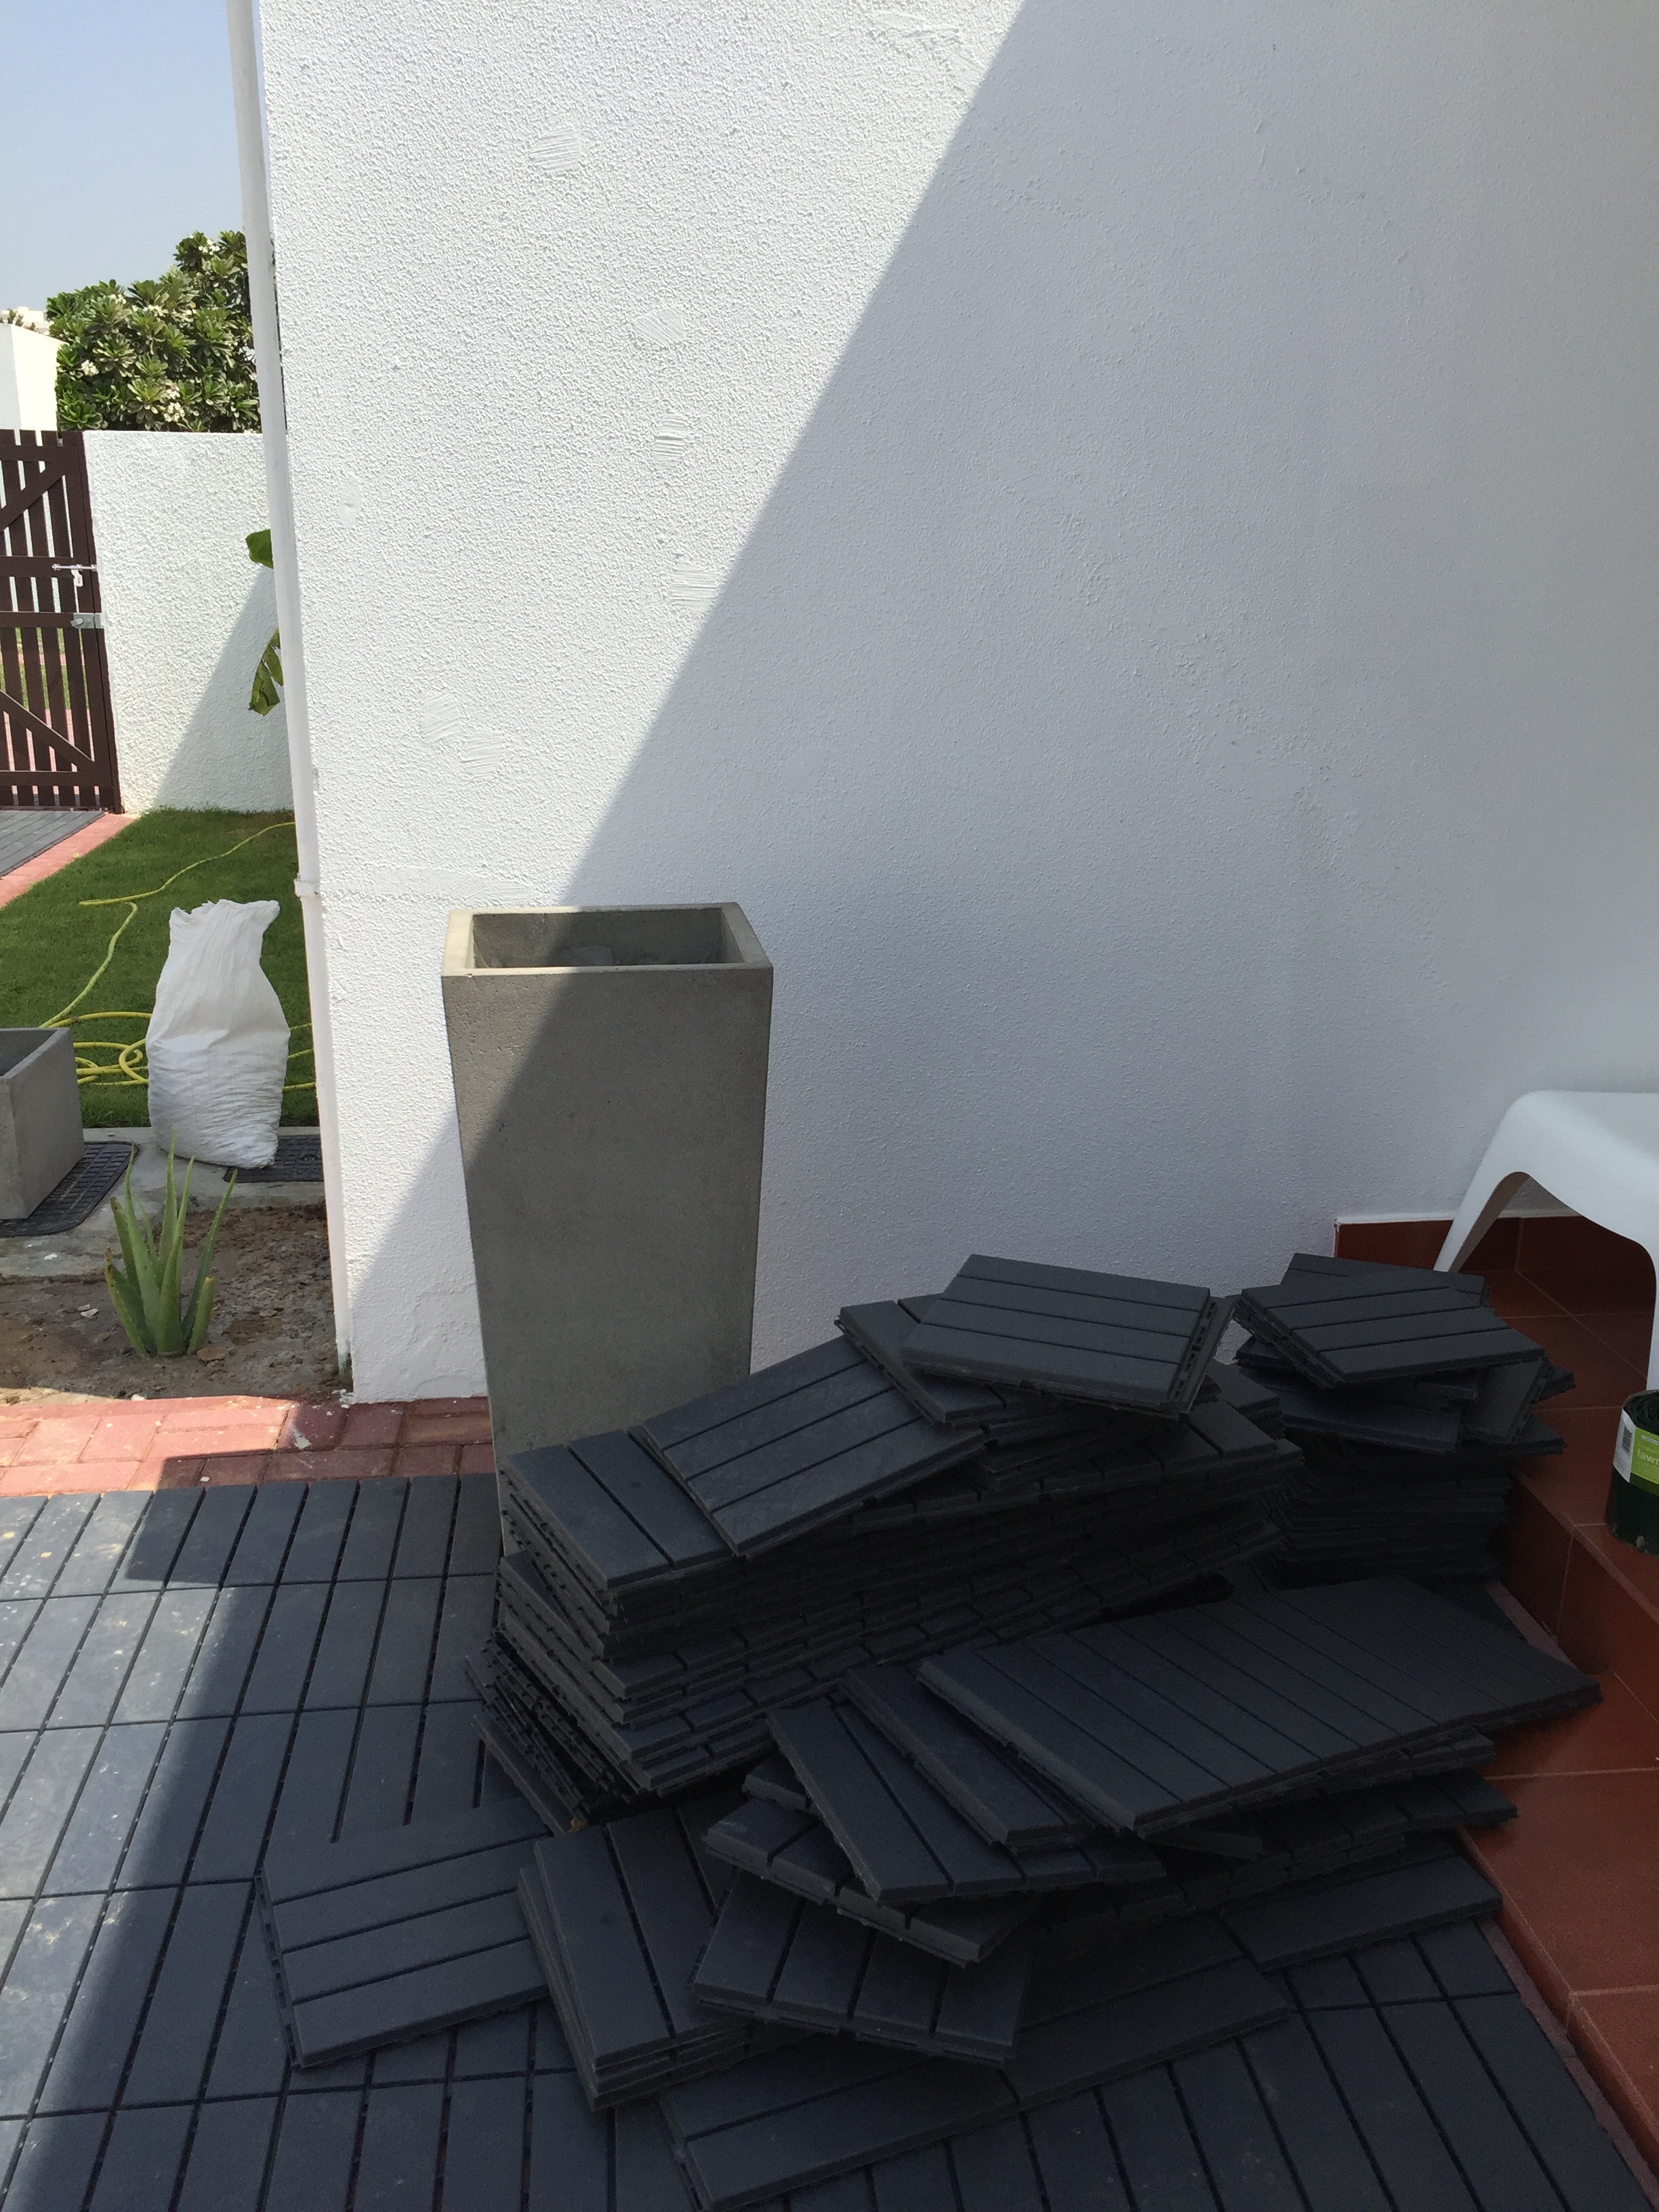
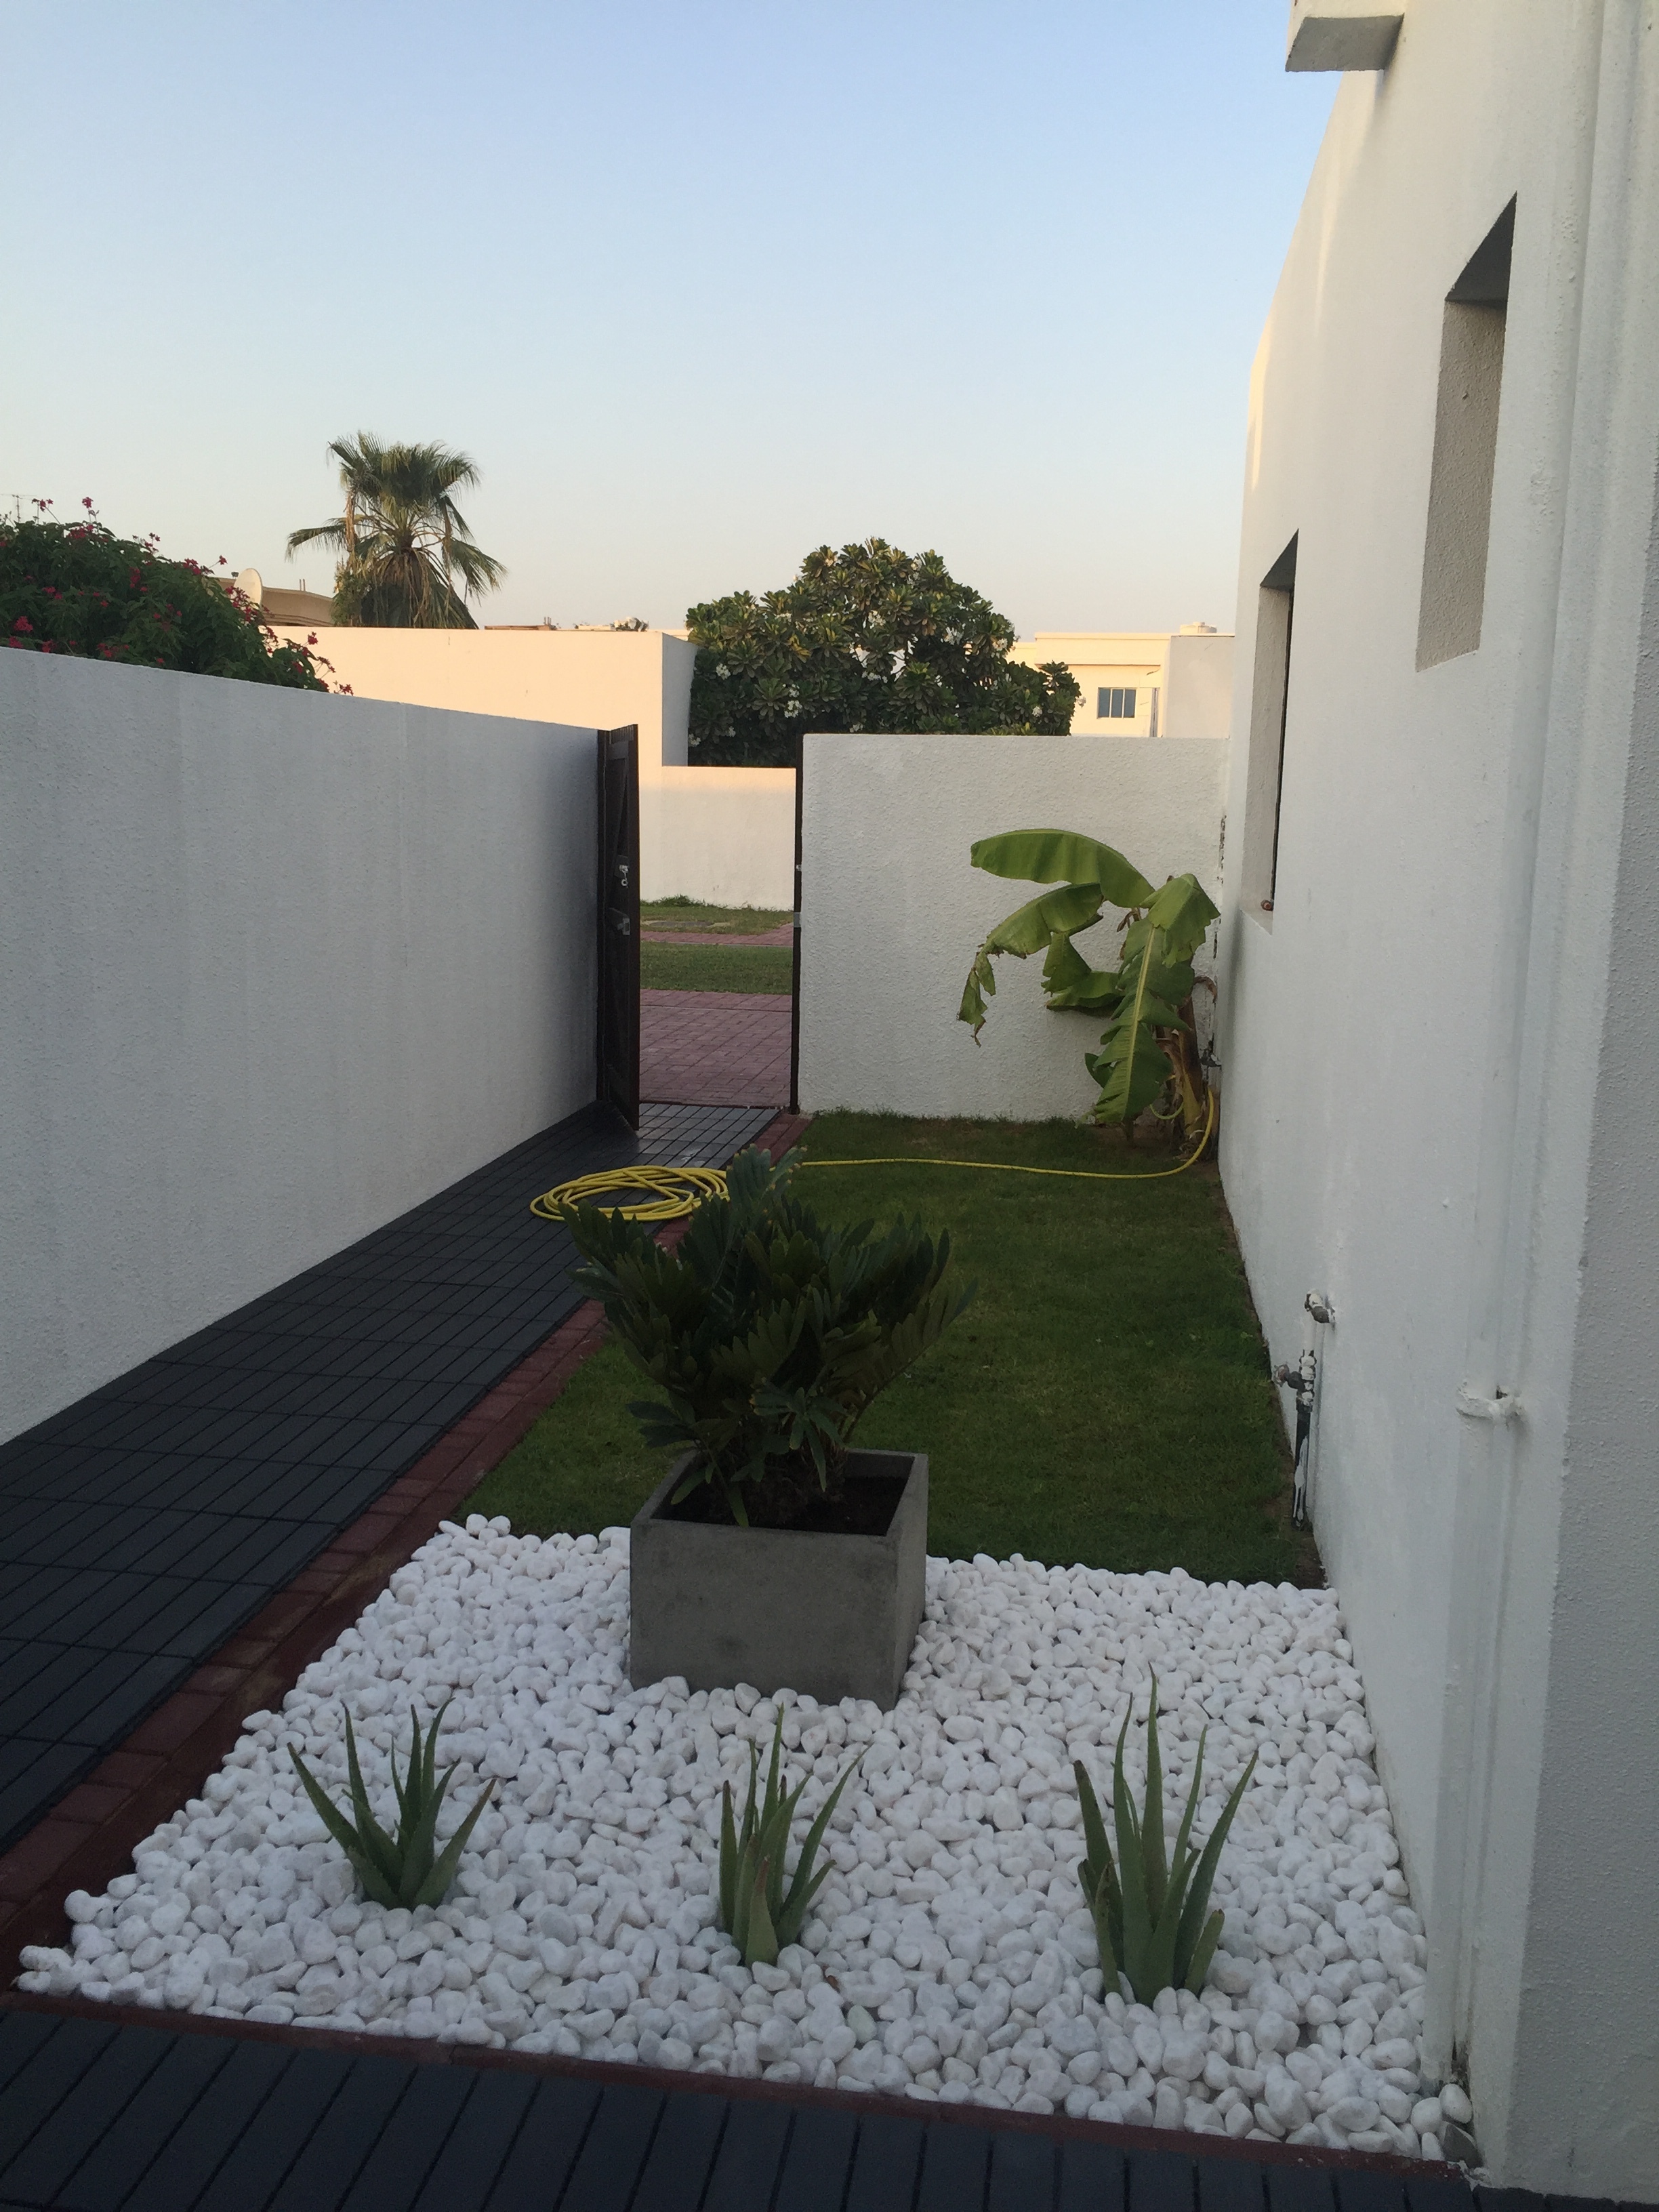
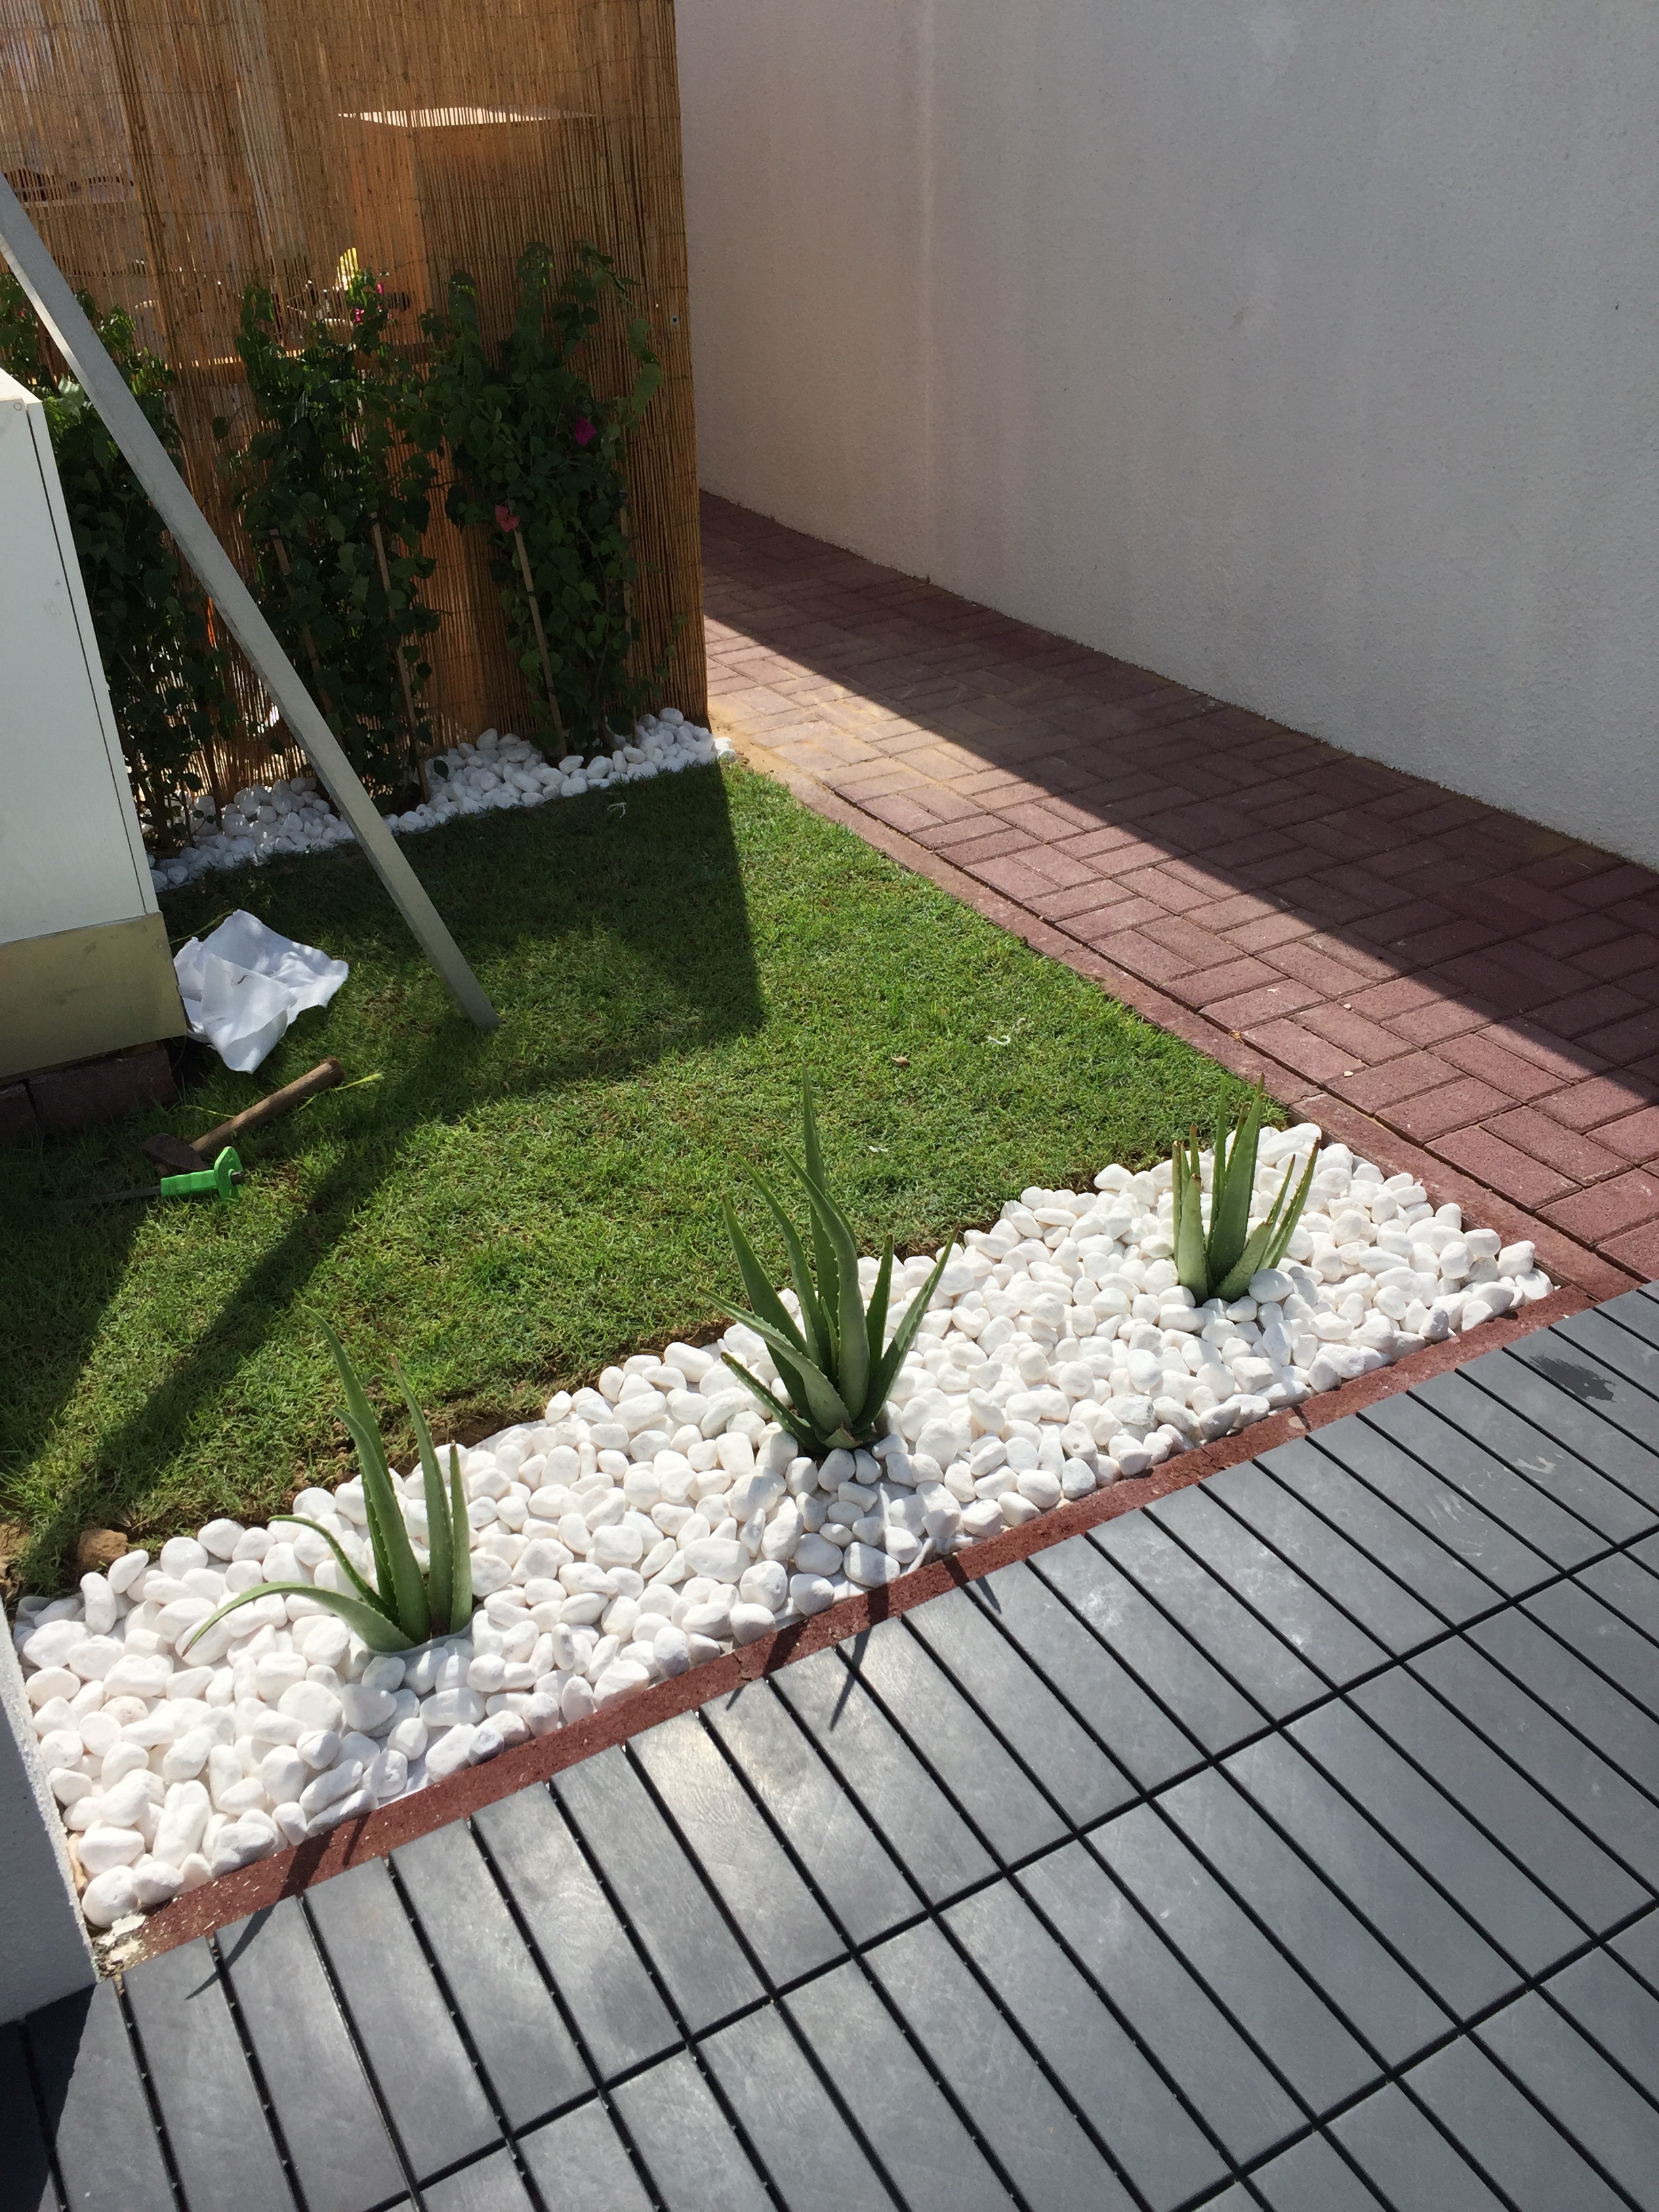
The original interlock bricks we had on the floor were beyond ugly and made of concrete - a health hazard with a toddler running around the garden like a maniac. I didn't want to blow the entire budget on just flooring so looked at purse friendly options that would be soft on small people's knees in case of falls. As always IKEA totally delivered with their RUNNEN range of outdoor decking. It took us about 45 minutes to click all the tiles on top of the existing bricks and I just had my handyman help sawing some to fit around the edges. It's really hold up two Dubai summers already without the colour fading at all. Highly recommended! We filled the sandpits with grass and beds of white stones with Aloe Vera (I have always wanted to have these in my garden!).


Lighting
I bought some ridiculously cheap festoon lights from Dragon Mart and had them installed between the roof of the house and neihgbouring wall using a simple metallic pole spray painted in white. It looks so cosy at night and cost under AED500 for 30 metres of lights!

Furniture & Accessories
Now for the REALLY fun part... I worked with a bunch of lovely brands who kindly supplied super fun and affordable pieces of outdoor furniture and accessories.
The rattan chairs are from Home & Soul.
- The black Acapulco chairs are from So Chic.
- The black table and accessories on top are all from the new kid on the Dubai block JYSK.
- And last but not least the monochrome outdoor rug is from IKEA.


And that my friends is it! I can honestly tell you we are spending almost every single evening chilling in the garden now and it's become such a cosy space. I also cannot finish this post without a few pictures of what it looked like before I got my paws on it... And some progress pictures when the trees and plants got delivered! Enjoy!
All the beautiful images are by the ridiculously talented Karen from Design K.